This issue is Step 5 and 6 of a 10-part series guiding you through the step-by-step process of making your very own book or zine. Join me as I share my firsthand experience creating "NOTICE Journal, Volume One", and get inspired to work on your own project.
Dear friends,
In this week's letter, step five and six in making my new book NOTICE Journal, Volume One: Creating A Dummy + Editing and Revising. Also, I am revealing the subtitle for the book for the first time!
Thank you for those of you who have been spreading the word about this series and helping me reach more people. I really appreciate it. Hit that 🔄 symbol at the start of the issue to send it to your Substack network or share it on social media. <3
Curious about the previous steps? You can check them out here:
Step 1 — Finding The Right Concept to Build a Book Around
Step 2 — How To Select and Organize Your Images
Step 3 — How To Sequence Your Images and Build a Narrative
Step 4 — Designing A Layout (As A Non-Designer)
Housekeeping
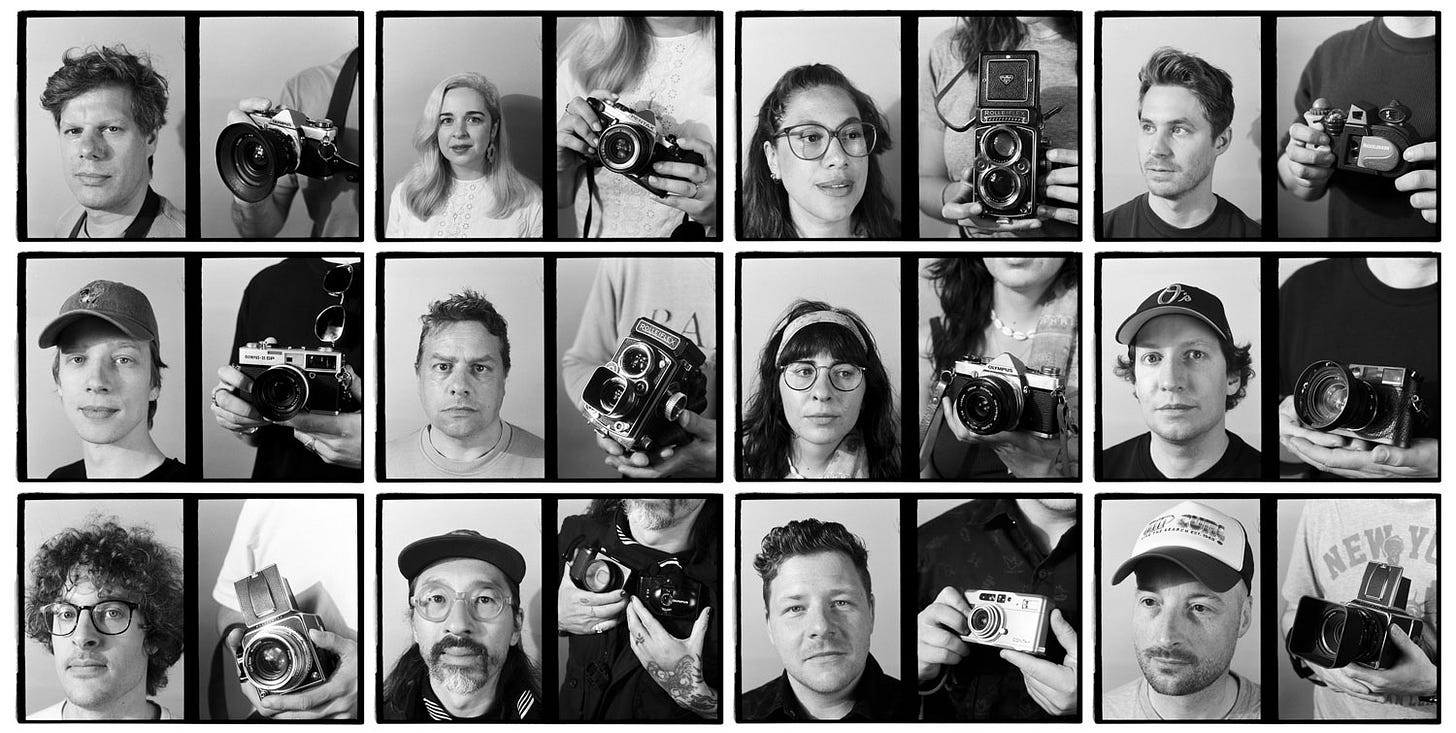
Amsterdam Photo Walk Portraits — Remember how I took half-frame portraits of some of the folks who joined last week's Process Photo Walk? Below, you'll find a sneak peek, but be sure to visit this gallery for the full collection, as well as a selection of photos I shot during the walk. Kudos to my friends at Carmencita for their stellar job developing and scanning all these amazing pictures!
A Photo Walk Near You? — If you live in a European city that would love to host a Process Photo Walk and you'd like to lend a hand in organizing it, feel free to hit reply and let me know. We're currently working on events in Madrid, Berlin, and of course the next Amsterdam walk on July 21st (RSVP here).
Looking for Design Help — I know there are quite a few graphic designers who read Process. If you’re one (with digital magazine experience) and are interesting in helping me with small but impactful Process project drop me a line. <3
First — A (Sub)Title Reveal
Up until now, I've referenced my upcoming book using its main title: "NOTICE Journal — Volume One", indicating that it's the first in a series. What I had not yet mentioned is that each volume will have its own unique title or, perhaps more accurately, a subtitle. With that, I'm excited to reveal for the very first time the subtitle of "NJV1":
"the shadows will be behind you if you walk into the light"
Don't worry, I won't make things more complicated by switching to an acronym like "NJV1tswbbyiywitl" to refer to the book. I'll stick to using "NOTICE Journal — Volume One" or "NJV1" to keep things simple.
I'll share the story behind the subtitle in a future issue. For now, I will say that it's quite personal and reflects the emotions I felt while creating this body of work. It's my hope that the subtitle, and the work within the book, will resonate with you and feel familiar, calming, and comforting.
Now, onto step 5 in making a photo book or zine!
Step 5 — Creating A Dummy
Now that you've selected the layout for your photo book, it's time to create a physical prototype known as a book dummy. A book dummy serves as a tangible representation of your creative vision, allowing you to preview your project before it goes to print.
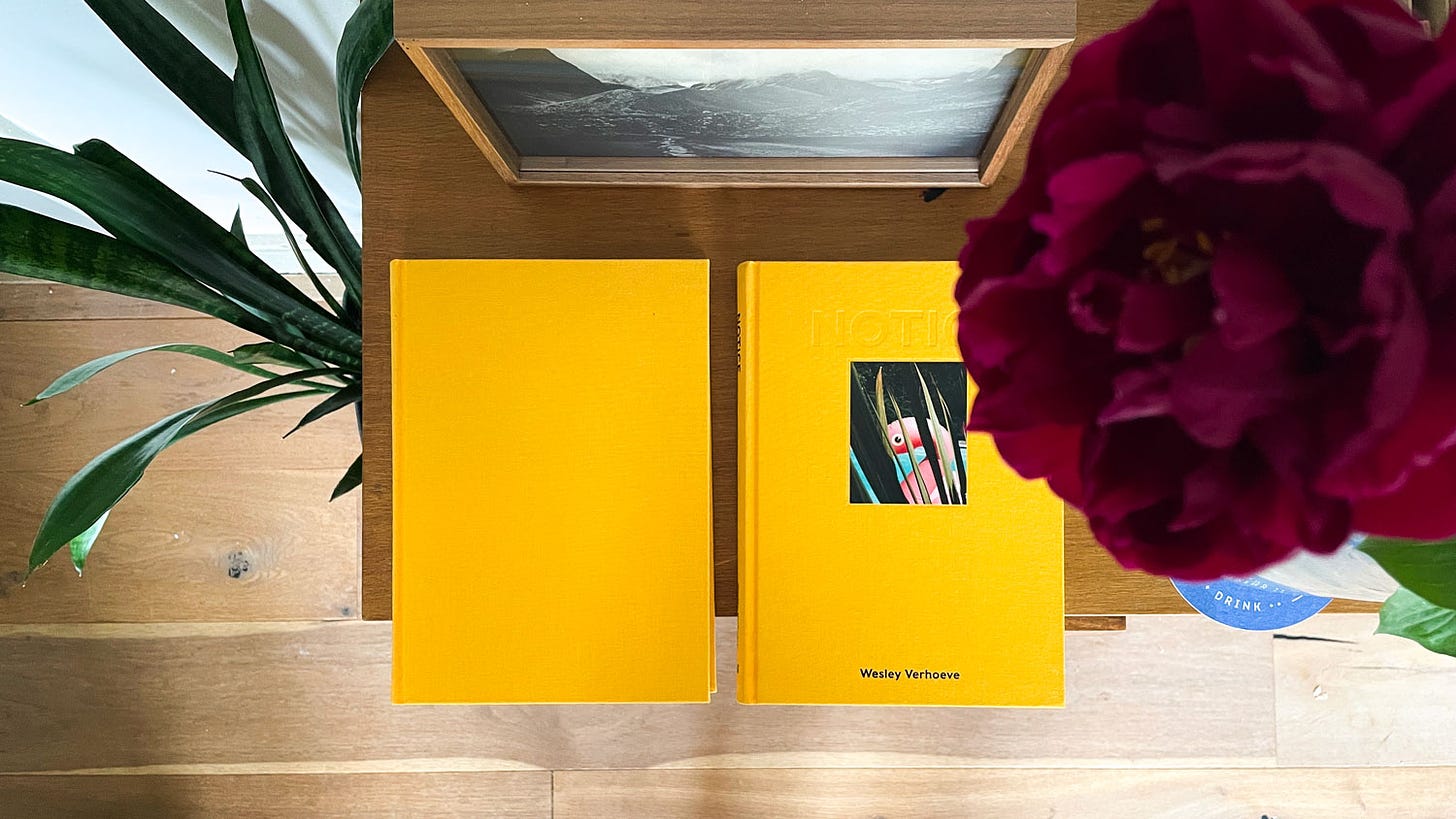
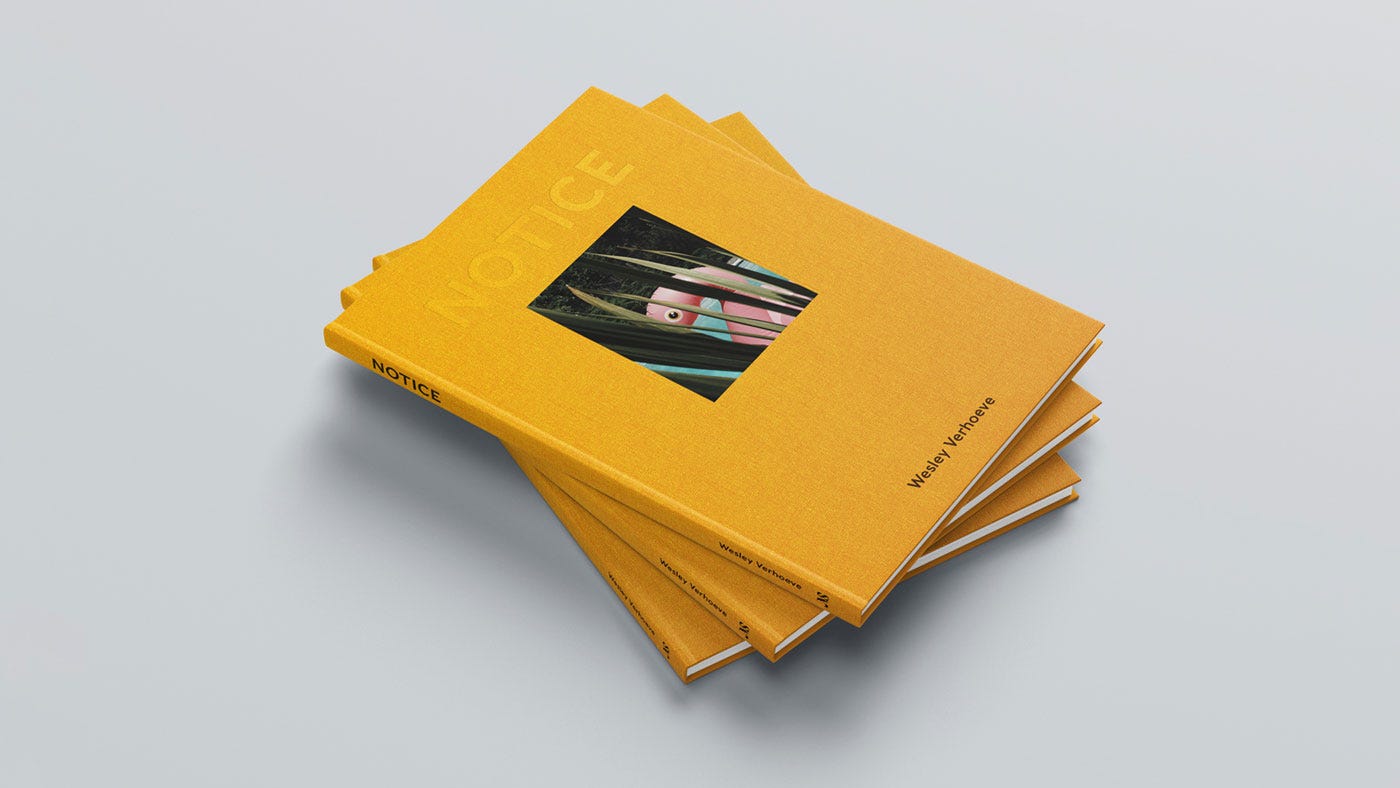
Sometimes a dummy is a very high end nearly exact copy of the book, without some of the details and without the pictures inside. That’s how we did it with "NOTICE" which we printed at a very high end book printer called Wilco. Below you can see the dummy (left) and the book itself.
If you look closely, you'll spot a few differences between the dummy and the final book. The dummy features the finalized linen choice and the correct number of pages, but some elements were impractical to include at this stage. The final book showcases the title "NOTICE" in a subtle blind deboss1, an inlaid cover image, and my name in a classic deboss.
Interestingly enough, you might find the pages of the dummy book to be blank. The reason behind this is that the printing process is expensive, time consuming, and complex, involving numerous test prints and adjustments. As a result, including the book's images at the dummy stage just isn’t very practical. (See below.)
There’s also another approach that’s a bit more DIY. Just head over to your local copy center, ask for a stapled booklet with your desired size and page count, and let your creativity take the wheel from there in a more hands on way.
For "NJV1," I've chosen a more DIY approach to start the dummy creation process. Before investing in a higher-quality, final-materials version, I want to start with a simpler, hands-on version. This allows me to experiment with the overall reading experience and get a feel for the placement of elements like the essay, photos, and more. Since I'm still in the exploratory phase for these larger decisions, this method feels like the most practical way forward.
Below you see the title page, obviously just hand-written and this won’t be the final font choice (lol) nor the final design, but it’s good enough for this part of the process.
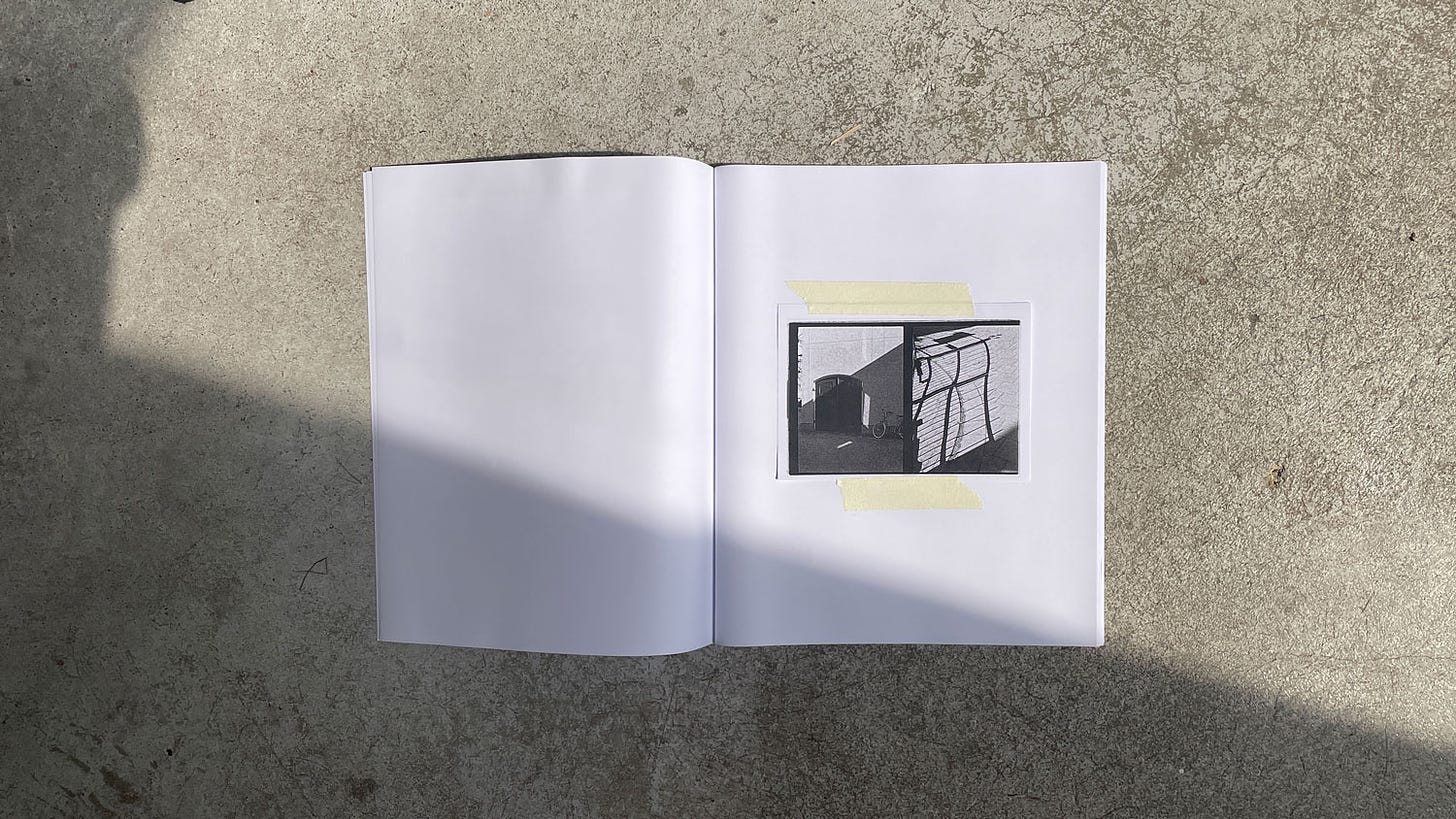
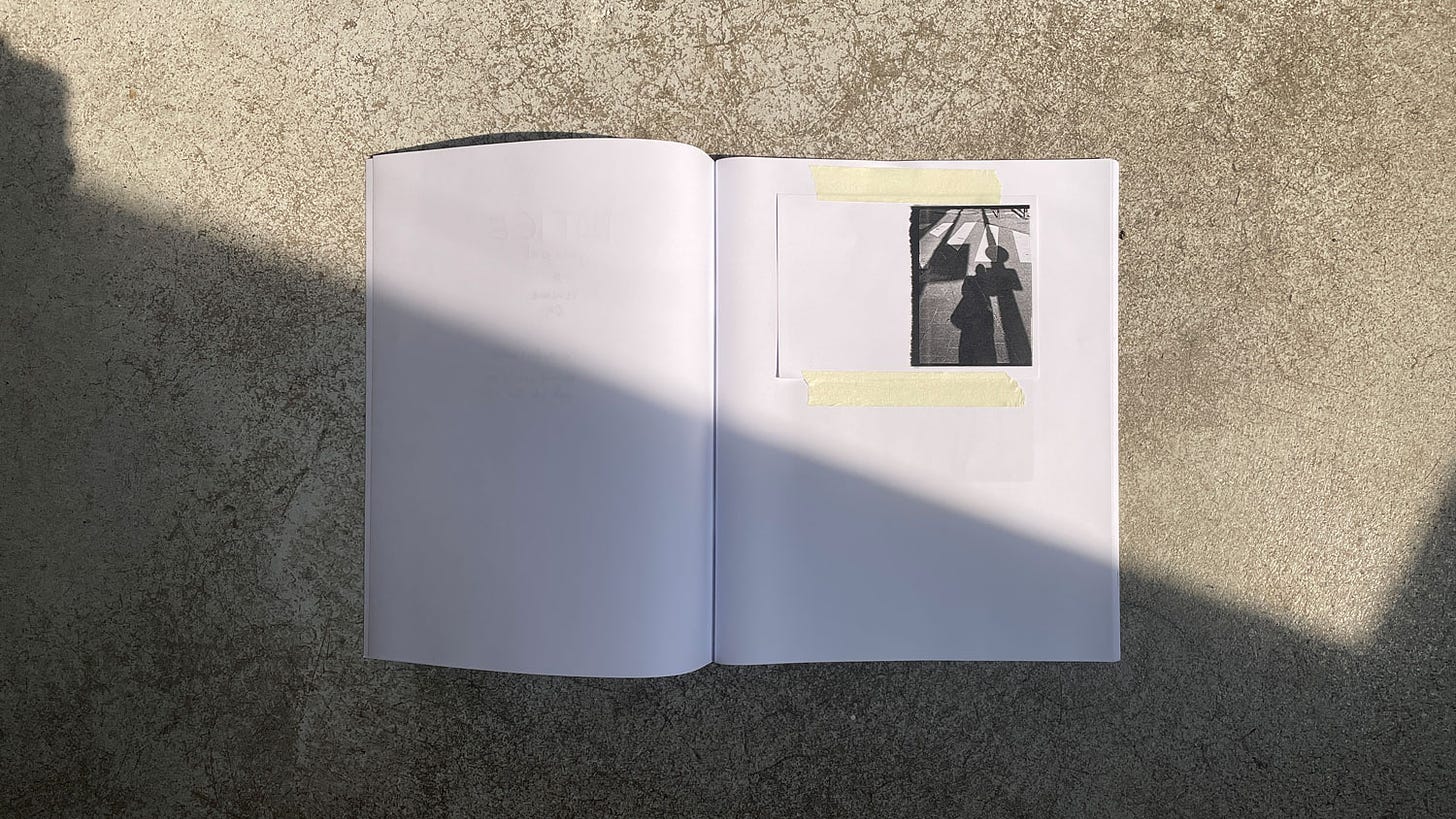
For the interior, I'm choosing to include the images this time around. To do this, I'll attach the inexpensive test prints directly onto the pages using gaffer's tape—a quick and easy solution for a DIY dummy book. (See below.)
Since I am not 100% decided yet on where on the page the images will live, I’m trying out different placements. Next week, I have a meeting with designer extraordinaire and friend Dan Rubin to figure out this part of the design process. Here’s an example of an image place at the top of the page instead of in the middle. (See below.)
After you've put together all the components of your book—taping in the images, hand-writing the title page, and adding some text and credits—you'll have a functional dummy that you can hold, think over, and tweak as needed. It's a great way to get a feel for the book's overall flow and design before committing to the final version.
This stage of creating a book or zine can be exciting but also intimidating. It's the moment you'll need to start making actual creative decisions, like determining whether an image you've chosen works within the context or realizing that more white space is necessary for the layout to breathe. Your page count might also need adjustments. So many things can change still.
Working with a physical object during this process is much more effective than relying on imagining it and working on your computer. By making a dummy, you can see and feel how your choices so far translate into the final product—an invaluable experience when making a physical object.
Step 6 — Edit and Revise
Now you rest, let the dummy float around your house and take it in for a little while. Pick it up over breakfast, take it along to a cafe on a Sunday morning, let a friend or mentor leaf through it. Let it breathe and absorb it slowly, all while making notes in the margin about any changes you want to try. Go back and re-read the central theme for your book that you wrote up in step one (Process 140) to stay true to your vision.
After you do this for a while, make a fresh dummy with all the necessary adjustments to your layout, sequence and design. Now it’s a matter of rinse and repeat a few times until the book settles into itself. I recommend reserving a few weeks for this phase on the process, it’s an iterative process of fine-tuning and polishing until the final product effectively represents your vision and tells your story.
Upcoming Steps
We are now half-way through the process of making a new book of zine, yet there is still so much fun and interesting stuff to come. There are some very exciting things in the works for "NJV1" that I can’t speak on yet but I am bursting and can’t wait to tell y’all about it!
Up next:
Step 7 — Write and Refine Text
Step 8 — Finalize Design
Step 9 — Choose Your Printer
Step 10 — Market and Launch Your Book
Past Steps
Step 1 — Finding The Right Concept to Build a Book Around
Step 2 — How To Select and Organize Your Images
Step 3 — How To Sequence Your Images and Build a Narrative
Step 4 — Designing A Layout (As A Non-Designer)
Step 5 — Creating A Dummy
Step 6 — Editing and Revising
If you enjoyed this issue I’d love for you to share it with friends. Re-stacks help a lot! It’s that little 🔄 symbol at the start of the issue, or share to social with this button:
That's all for this week! As I'm writing this, I'm on my way to Antwerp for another fun Process Photo Walk. If you haven't already, be sure to check out the gallery of portraits from last week's Amsterdam walk. Everyone’s so good looking and has great taste in cameras.
Next Week: Does a photo book need any text? If so, how much and what kind of text serves your story best? Step 7 of making a photo book — Writing and Refining Text!
Keep shooting and take good care of yourselves and others. <3
Wesley
PS Would you like to support Process? Please order my photo book "NOTICE". <3
Gear & Tools Used
Camera: BTS images shot on my Fujifilm X100F. Images for NJV1 are shot on the Olympus Pen-F. Images for NOTICE were shot on a variety of cameras including the Pentax LX, Pentax 67ii, Fujifilm X100F, and the Canon 5D Mark IV.
Film Stocks: Double X, Kodak Portra, Kodak Tri-X, Ilford Delta 400.
Shout out to MPB.com, my go-to place to buy, sell, and trade used cameras and lenses. I love their service and am a paying customer. MPB caters to over 625,000 visual storytellers and provides a 6-month warranty. Thanks for the support, MPB! <3
Lab: All my analog work is developed and scanned by my friends at Carmencita Film Lab. They’re my favorite lab in the world. Use code “PROCESS” to get a free upgrade.
Can’t get enough Process? Browse the Process Archives.
Follow me on Instagram and Threads.
Deboss is a technique used to imprint a design or text onto a surface, such as a book cover, by creating a depressed or sunken effect, often using heat and pressure.





Thanks again Wesley. This series just keeps getting more and more indispensable.
This is such an informative series. Thank you Wesley!