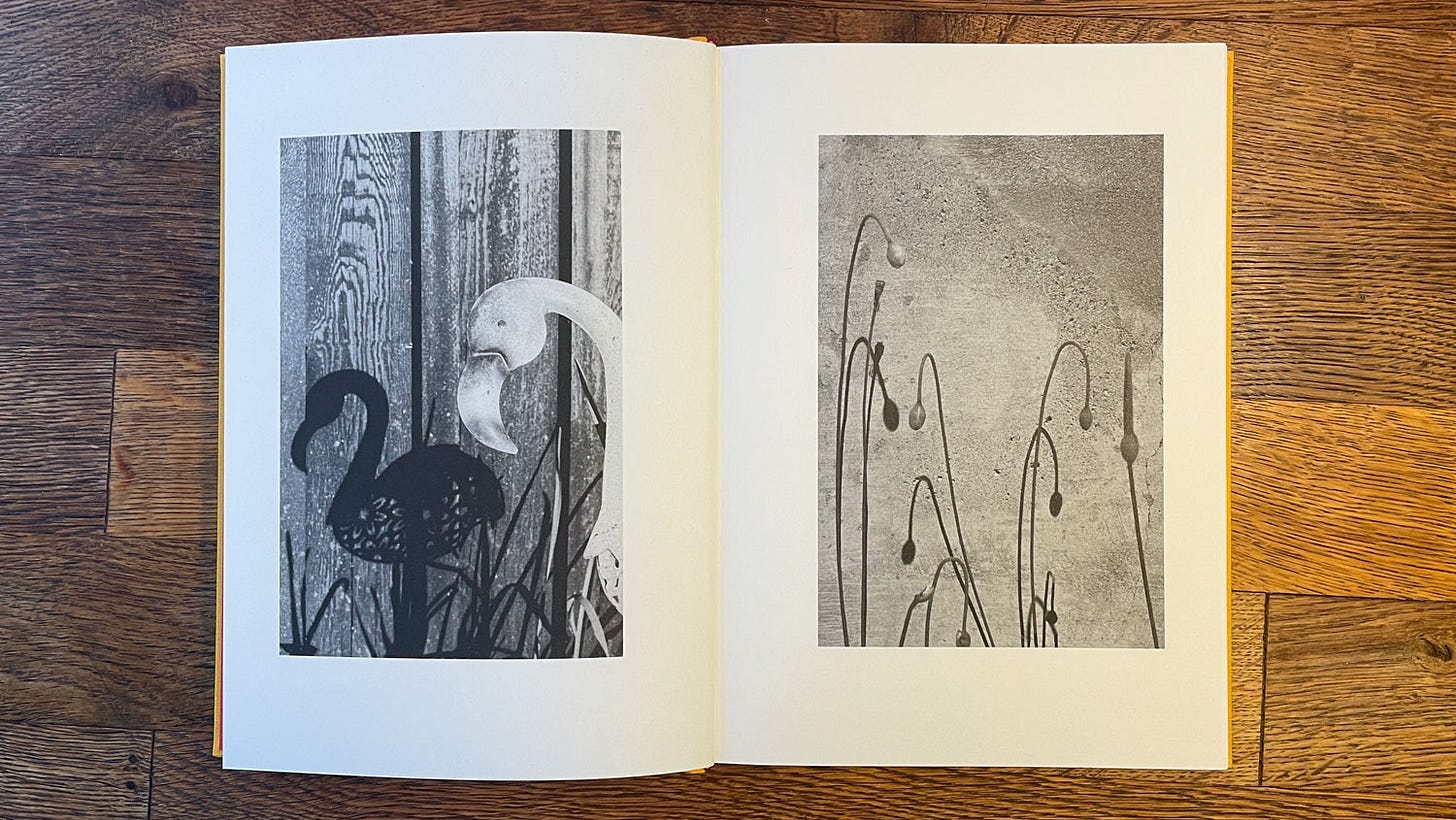
141 ☼ How To Select and Organize Your Images (When Making A Book or Zine)
GIVEAWAY: $150 gift certificate for the Moment shop
This issue is the second of a 10-part series guiding you through the step-by-step process of making your very own book or zine. Join me as I share my firsthand experience creating NOTICE Journal, Volume One, and get inspired to work on your own project.
Dear friends,
In this week's letter, the second step of making a book! How to select and organize your images. Also, bonus: how to organize your folder structure.
In case you missed it: Step 1 — Finding The Right Concept to Build a Book Around
Also in this issue: a fantastic Process Giveaway with my friends at Moment who made available a $150 gift certificate to their online photography shop.
Process Photo Walks
In the next few weeks, there will be two Process Photo Walks. Join us!
Amsterdam — Sunday, May 5th. RSVP here. Co-organized by the Analog Club Amsterdam.
Antwerp — Saturday, May 18th. RSVP here. Co-organized by Jason Kravitz and the Aminus3 photography community.
Important Reminder For This Issue: Don’t feel discouraged, overwhelmed, or bad if you're not into organizing as much as I am. Remember, I've been doing this professionally for years and have ADHD, so going the extra mile helps keep me sane. Just find what works best for you!
Step 2 — Image Selection and Organization
Alright, friends! Last week, we decided on a theme for our book or zine, but what's next? This is when we start to rummage through our archives to find work that suits the theme – that is, if you plan to use existing photos instead of making new work.
In my world, books often materialize from existing work, like a ship emerging from a dense fog. It's a process that sneaks up on me – just like my previous book NOTICE, which took months of shooting before I realized it wanted to be a book. (which you can totally order here)
As a reminder, the theme of my upcoming book "NOTICE Journal, Volume One" ("NJV1") is:
Discovering overlooked beauty in everyday life around Amsterdam during two spring seasons marked by personal renewal.
Or, when expanded for context:
The work I made during my spring time photo walks mirrored some challenging changes in my life, which later evolved into a sense of renewal and excitement. Spring, with its mix of humor, nostalgia, melancholy, and confusion, provided the perfect backdrop for the photos I was making—each reflecting both the season and my personal experiences.
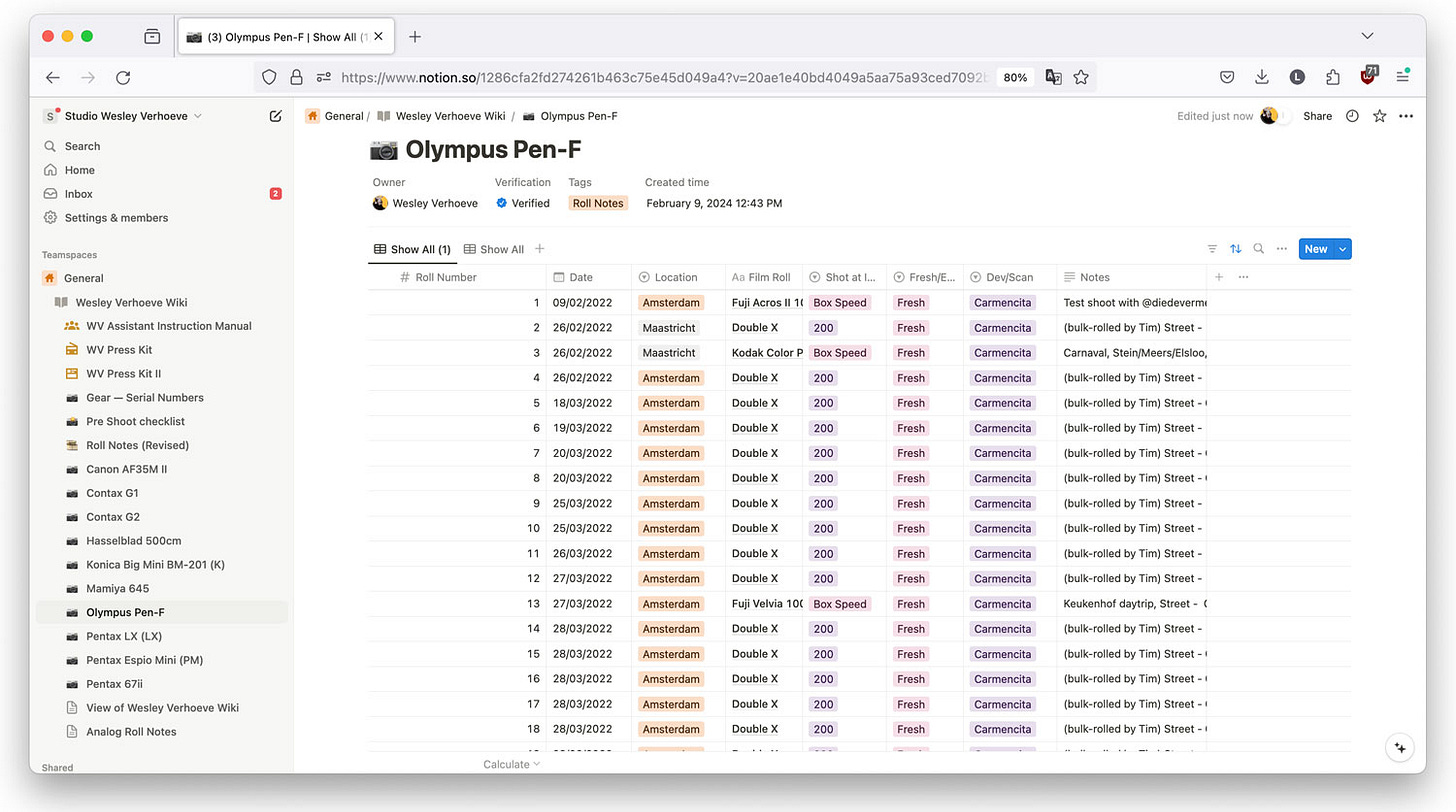
Since I knew my Olympus Pen-F was the go-to camera for all those springtime photo walks around Amsterdam, I just had to look at my roll notes to figure out which folders from my archives needed to be pulled for the project. (See roll notes below.)
Looking at my roll notes, I can see that I need to pull rolls 004 to 044 from the Olympus Pen-F archives to make sure I've got all the photos from when this collection was created. See below.
Next, I copy (not move!) all of these rolls of film into the "NJV1" project folder.
Before we dive into the next book making step, let's take a moment to chat about folder organization. (See picture above for the visual, and the text below for the explanation.)
Folder Structure Bliss
A well-organized folder structure is a thing of beauty. It can really help in managing a photo project. I’ve created my folder structure based on my experience curating nearly 100 exhibitions for the International Center of Photography and working on a bunch of book projects.
Project Folder — This is the top-level folder. Use the project's title or a descriptive name to identify the main folder easily.
In this case, I use "nsp003_noticejournalvol1_wesleyverhoeve" where nsp stands for New Style Publishing, 003 represents the third project published through this imprint, and then it’s the title and the photographer’s name (that’s me, obv.).
Inside this project folder, it breaks down as follows:
Admin — All administrative documents, including contracts, budgets, notes, and project planning documents.
Images — This folder will contain all the photographs for the book. This folder is further organized into subfolders:
Raw Images — Unedited and original scans.
Edited Images — Edited and finalized images.
Selected Images — The final images selected for the project.
Design — The book's design elements, templates, fonts, mockups. This folder is further organized into subfolders:
Cover Design — Store cover design drafts and final versions here.
Layout — Keep all the page layout files and drafts in this folder.
Text — All the written content for your book, including captions, introductions, essays, and other text elements. Subfolders can include:
Drafts — Various text drafts and revisions.
Final — The final versions of all text files here.
Promotion — All the promotional stuff goes in here – press releases, event details, marketing materials, and anything for social media. All in subfolders.
Feel free to use and customize this structure according to your specific needs and preferences. A well-organized project folder can help you streamline the creative process and stay focused on bringing your zine, photo book, or project to life. Keeping it all together also made it easy to publish a behind-the-scenes zine for NOTICE since everything was documented and organized. (see below)
Killing Your Darlings
Let’s get back to where we were. We just moved all the pictures in consideration for the book into the project folder. Now comes the hardest part: image selection!
"Killing your darlings" is a common phrase in the writing world. It means getting rid of parts of your writing—like characters, scenes, or sentences—that you might love but don't really help your story. It's tough to do, but it makes the story stronger in the end. The same idea applies to photo books. Even though it’s hard, sometimes we have to remove photos that we love for the greater good of creating the best book we can.
Figuring this out might take a while, but having a clear idea of our theme and vision will make it easier and quicker to choose which photos are the best fit for our book. This way, we can build a strong and cohesive collection of pictures that tell our story.
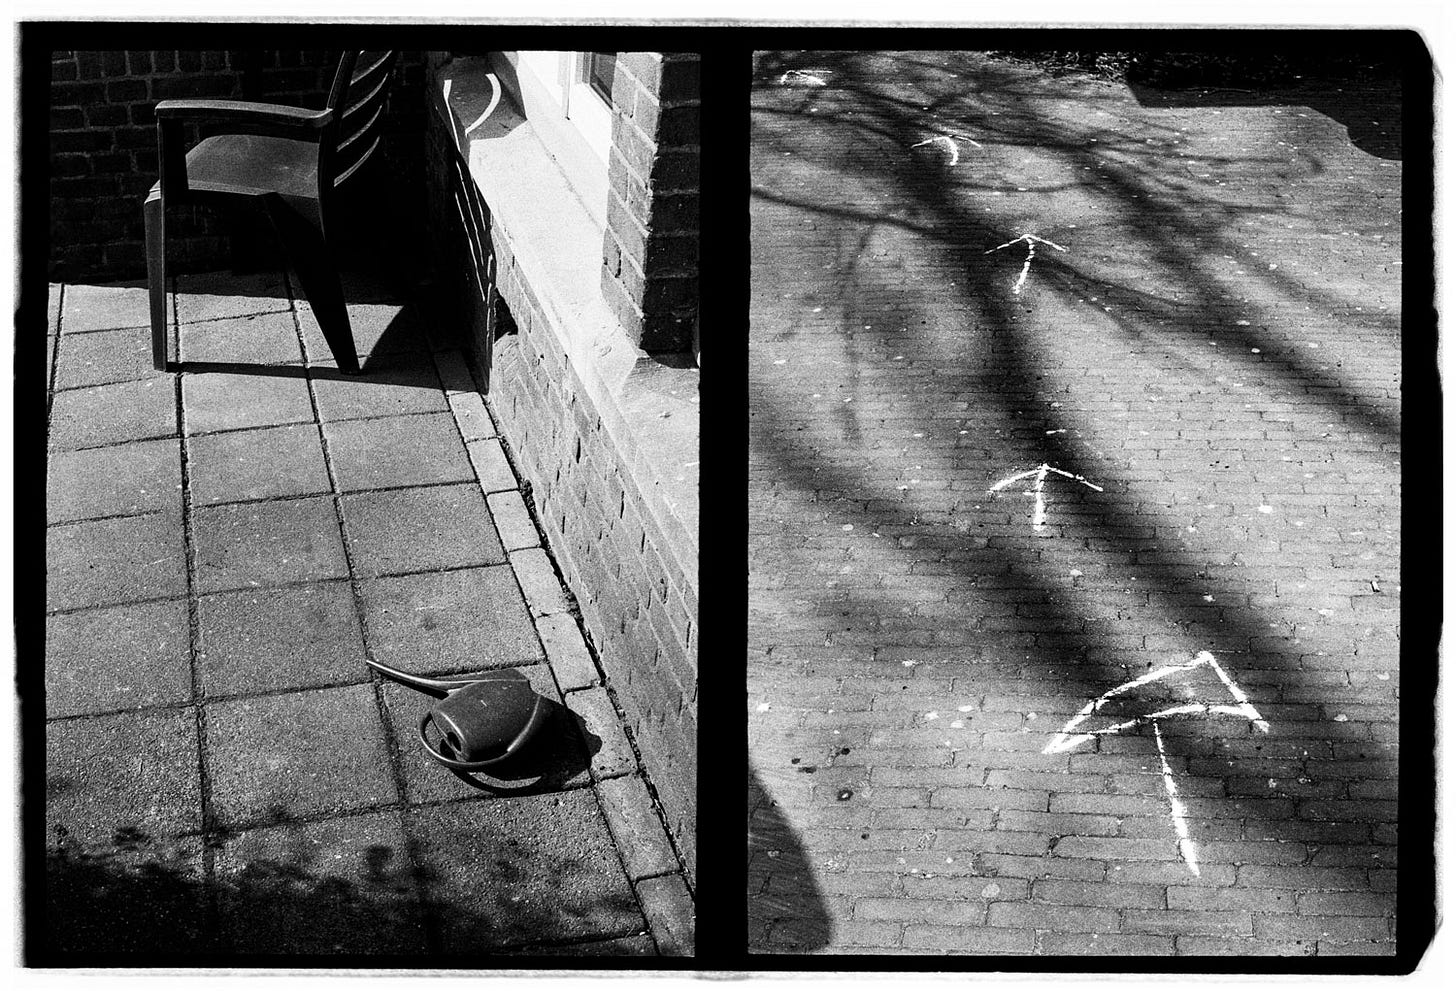
Below is an example of a diptych that will make it into "NJV1". It fits the theme well because it implies a story of change and contains a bit of mystery and melancholy and hope and direction.
Below is a diptych that will not make it into "NJV1". This diptych is actually a classic case of "killing your darlings." It was a tough call because I really dig this one—the weird and wild scene of the crane bird swooping down (on the left). But it just didn't fit the theme of "NJV1," so it had to go. Sometimes you've just gotta stick to the plan.
Another shot that didn't make the cut is this colorful one below. It was a no-go because I decided early on that "NJV1" will only feature photos shot on Double X film.
I recommend you don't rush through this part of the process. Remember, it's okay to revisit your photo selection later and reconsider. Sometimes, when you're putting your story together, you might find that a picture that didn't seem strong on its own fits perfectly into the narrative. That's the beauty of storytelling!
More on this next week, when we get to possibly my favorite part of the process of making a book or zine: sequencing your photos and building a narrative!
Takeaways & Additional Reading
Clarity — The more thought you put into a tight theme or concept, the easier it becomes to know which images belong in your project.
Structure — Keeping your folders neat and organized will save you a lot of headaches! When your structure is clear and easy to follow, you can spend more time being creative and less time worrying about where things are.
Kill Your Darlings — Be ruthless in your selection. If it doesn’t fit your theme or story, the picture’s gotta go.
Process 012 ☼ How To Keep Great Roll Notes
Process 048 ☼ How To Archive Your Negatives And Honor Your Work
Upcoming Steps
Over the course of 10 weeks, I will share each step of making "NJV1," diving into the finer details and the overarching vision so you can see the entire process. Your feedback is invaluable, so please let me know in the comments if any particular facets of zine or book-making pique your interest.
Up Next, in future issues of Process:
Step 3 — Sequence Your Images and Build a Narrative
Step 4 — Design Layout
Step 5 — Create A Dummy
Step 6 — Edit and Revise
Step 7 — Write and Refine Text
Step 8 — Finalize Design
Step 9 — Choose Your Printer
Step 10 — Market and Launch Your Book
Past Steps
Step 1 — Finding The Right Concept to Build a Book Around
Step 2 — How To Select and Organize Your Images
If you enjoyed this issue I’d love for you to share it with friends. Re-stacks help a lot! It’s that little 🔄 symbol at the start of the issue.
Next Week: Step 3 of making a book or zine, sequencingggggg. Subscribe now if you’re not already!
Keep shooting and take good care of yourselves and others. <3
Wesley
PS Would you like to support Process? Order a copy of my photo book NOTICE. <3
Gear & Tools Used
Camera: Olympus Pen-F + 38mm lens.
Film Stocks: Double X.
Shout out to MPB.com, my go-to place to buy, sell, and trade used cameras and lenses. I love their service and am a paying customer. MPB caters to over 625,000 visual storytellers and provides a 6-month warranty. Thanks for the support, MPB! <3
Lab: All my analog work is developed and scanned by my friends at Carmencita Film Lab. They’re my favorite lab in the world. Use code “PROCESS” to get a free upgrade.
Process Giveaway
My pals over at Moment are back for a generous giveaway! One winner will receive a $150 gift card to buy whatever you wish including film, bags, a course, and more.
To enter this week’s giveaway answer the following question in the comments:
Q: What concept or idea would you like to build a zine or book around this year?
It can be straightforward, like street photography in your town, or something more conceptual like documenting a local farm’s harvesting season. Don’t be shy and ignore that imposter syndrome telling you nonsense about how you shouldn’t make a zine. Check out last week’s comments for inspiration and a bunch of fun and interesting answers from the community.
ENTER THIS WEEK’S GIVEAWAY before 11 a.m. EST on April 27th.
The winner will be randomly drawn. This giveaway is for Process subscribers only.


"Killing Your Darlings" is the hardest part of being a photographer, imo. Whether it's books, portfolios, or anyplace else. This fits into the "It's Personal" piece I wrote during the week, except it provides goes in an additional direction. You may love an image AND the rest of the world might love an image, AND STILL, if the image doesn't fit the story it needs to go.
Another excellent piece, Wesley.
That is next level organization! I'm pretty good at helping other people organize their archives and have created FMP databases for artists and institutions but somehow am unable to do the same for myself.
And don't even get me started on the editing... Do you ever get outside input in your editing process or do you do it all yourself?