142 ☼ How To Sequence Your Images and Build a Narrative
Step 3 of Making A Book or Zine
This issue is Step 3 of a 10-part series guiding you through the step-by-step process of making your very own book or zine. Join me as I share my firsthand experience creating "NOTICE Journal, Volume One", and get inspired to work on your own project.
Dear friends,
In this week's letter, what might be my favorite part of creating a book—sequencing the images into a narrative. Ooooh I love it so much.
If you're joining us for the first time, welcome! This is the third installment of a ten-part series that documents every detail of making a book or zine. In this case, we're making my next bok NOTICE Journal, Volume One (or "NJV1").
Curious about the previous steps? You can check them out here:
Step 1 — Finding The Right Concept to Build a Book Around
Step 2 — How To Select and Organize Your Images
Housekeeping
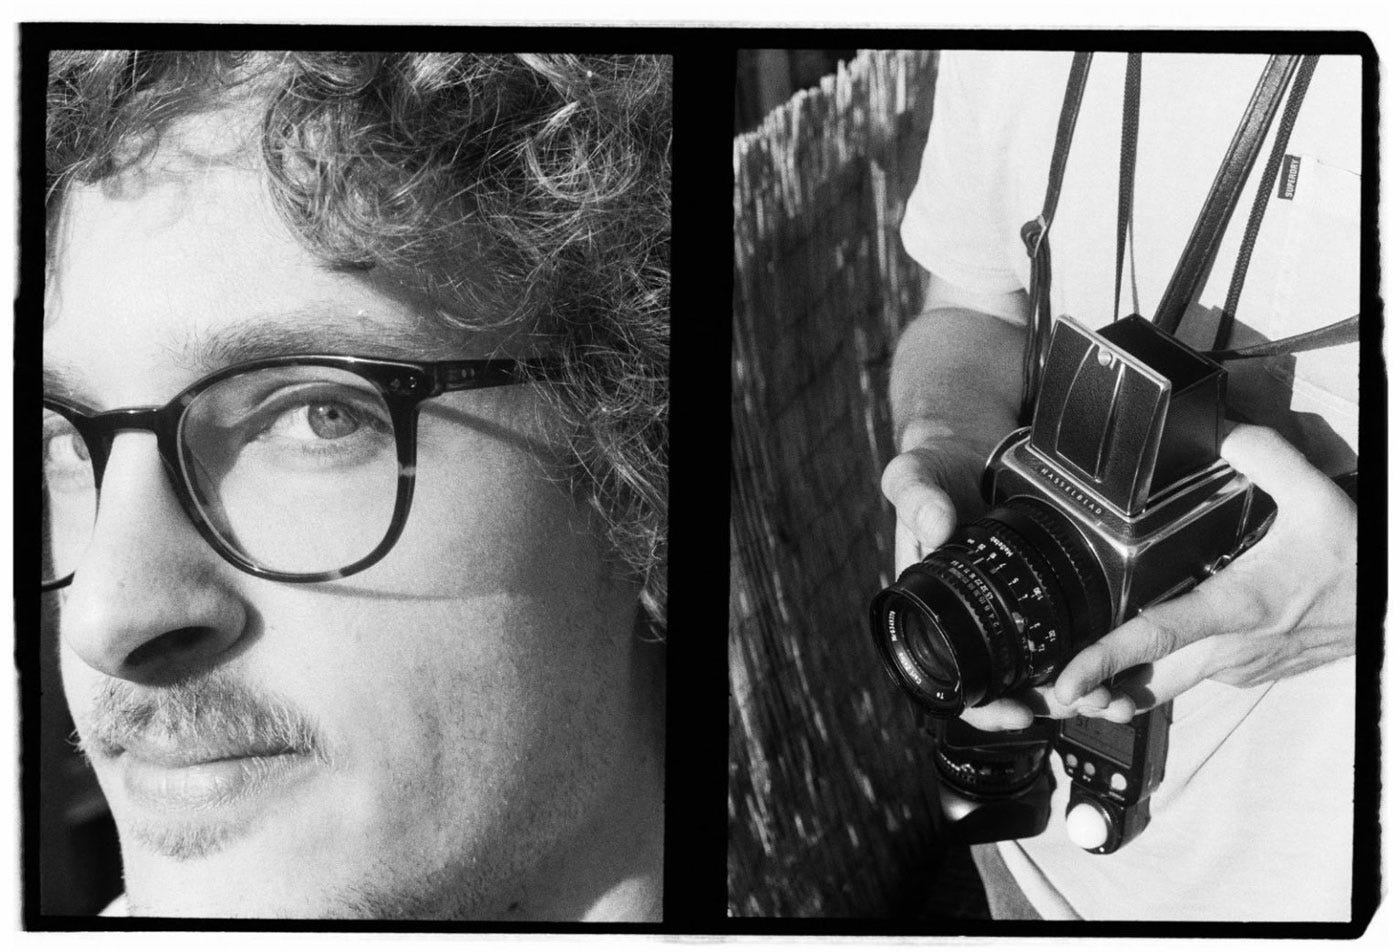
Mark your calendars! We're just one week away from our next Process Photo Walk in Amsterdam, co-hosted by Analog Club Amsterdam, on Sunday, May 5th. Don't forget to RSVP here to secure your spot, as they are limited. We'll wrap up the walk at an iconic creative space in the city center, where a never-before-seen darkroom and some drinks await. As a memento, I'll take a special half-frame double portrait of each attendee with their camera, just like this one of Tim:
The current exhibition at WIHH Gallery, featuring the New York City street photography by Paulie B. This very lively set of images are the seventh fifth installment of the Process Projected series. For additional details on Paulie, his work, exhibition opening hours, and more, go here.
The Importance of Sequencing
A good photo book is more than just a collection of nice photos. It tells a story, either very clearly or in a poetic way, through images and how they relate to each other. A great sequence can elevate the power of an individual picture as a result of where it is placed in the story and which pictures it is surrounded by.
Sequencing involves arranging your images in a specific order to create a flow and sense of continuity throughout your book. Just like a writer structures a novel or a filmmaker pieces together scenes, the order of events shapes your experience and understanding of the story. The same goes for photo books.
How To Sequence Your Images and Build a Narrative
Now that we know why it’s important, let’s dig into the how of it all. Here's how you can bring your story to life:
1 — Collect and Print Your A-Sides and B-Sides
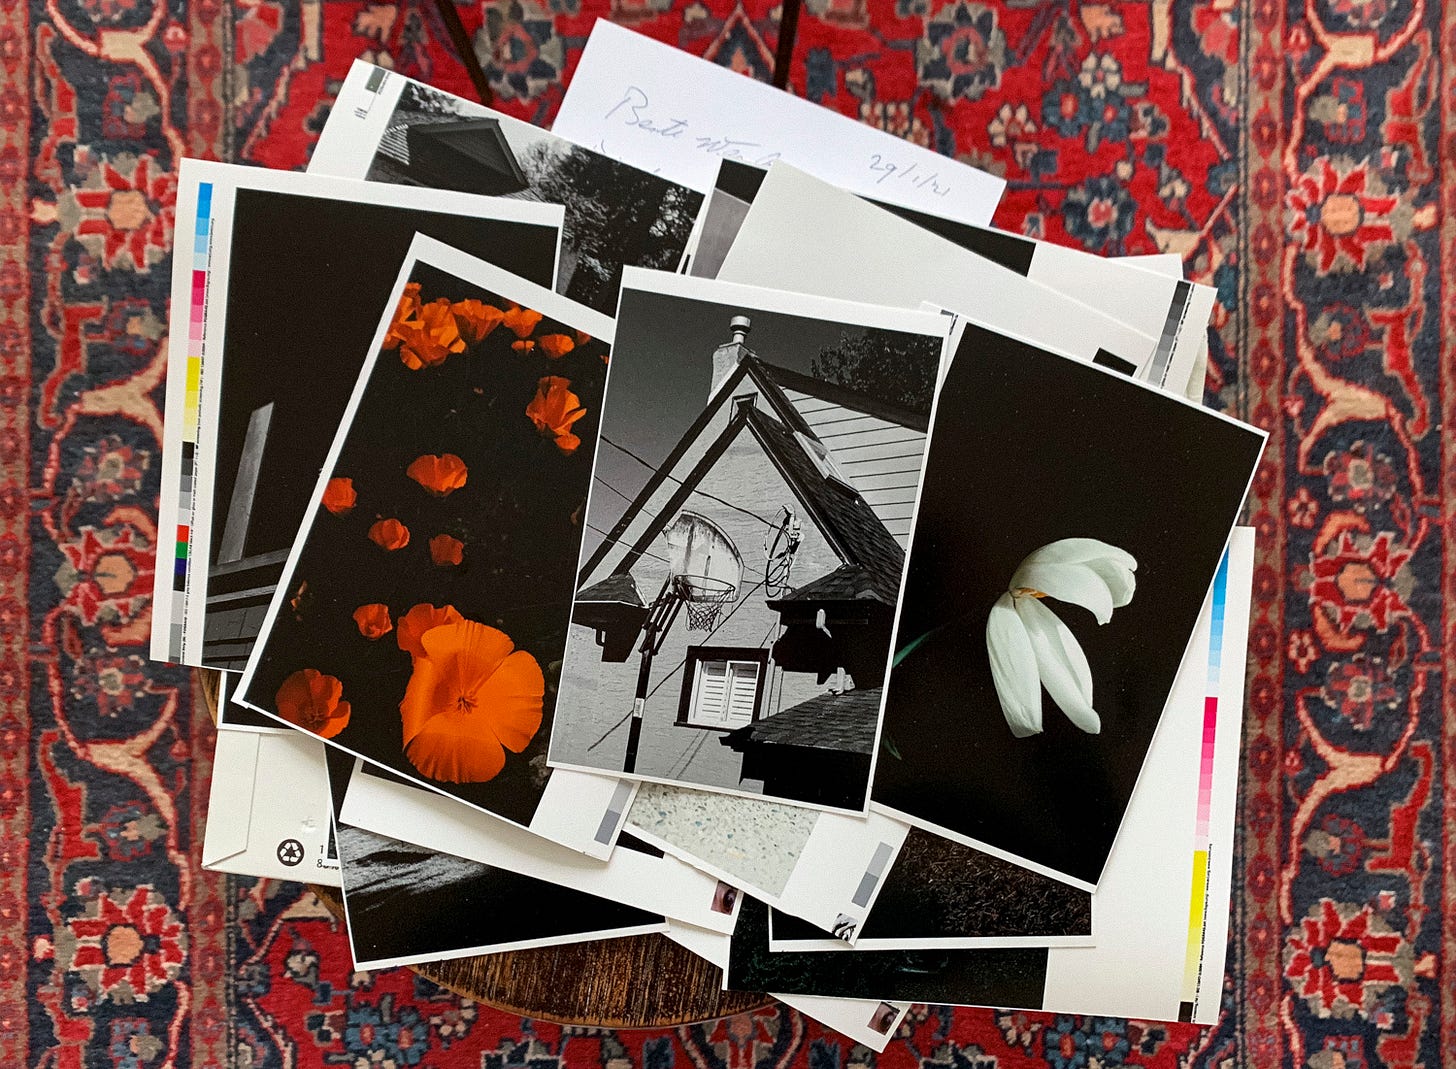
To kick things off, sort your selected images into two separate categories. The A-side includes must-have photos that you're certain should be in the book, while the B-side comprises those pictures you love but didn't quite make the cut initially. We do this because, during sequencing, you might discover that your narrative is missing a small piece of the puzzle—which could be hiding in your B-sides stack. Print them all out, cheaply at your local copyshop. A small size is fine and even just all in black and white is fine. Below you can see part of the A-Side stack of my previous book NOTICE.
2 — Develop a Rough Draft
Start by creating a simple sequence that feels right to you. You can do this on a computer or by printing small thumbnails and physically arranging them. Software like Adobe Lightroom, Figma, or InDesign can help with digital layouts.
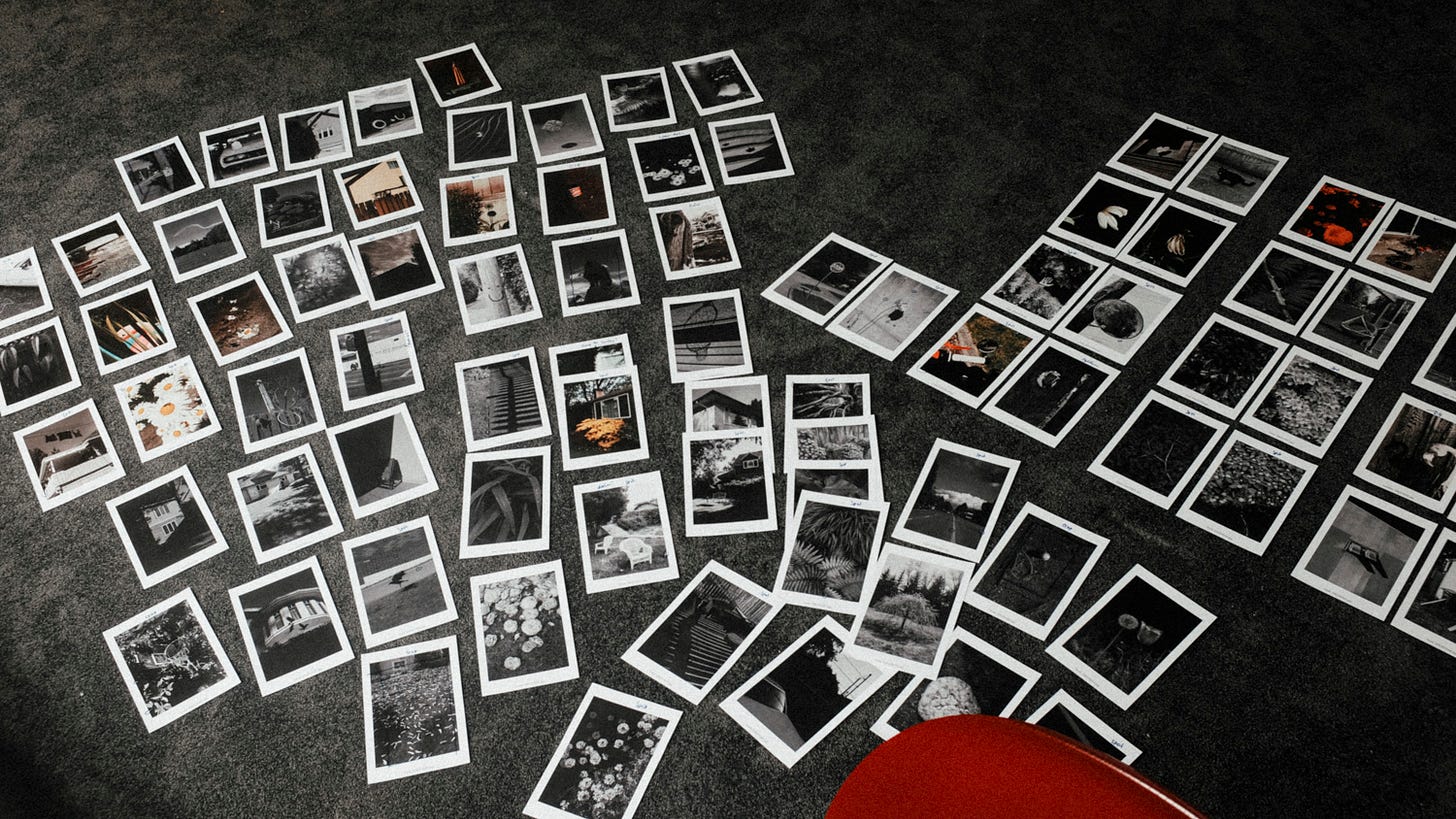
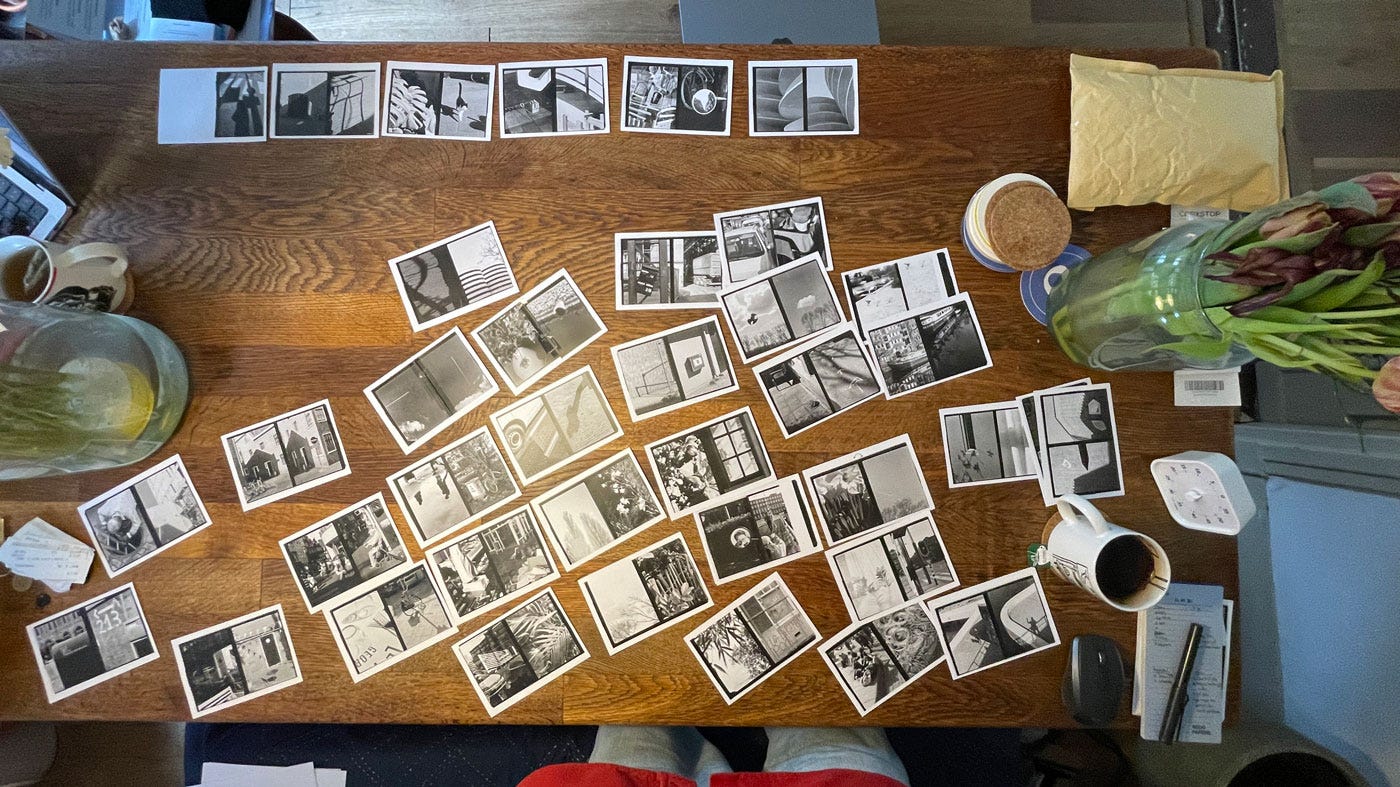
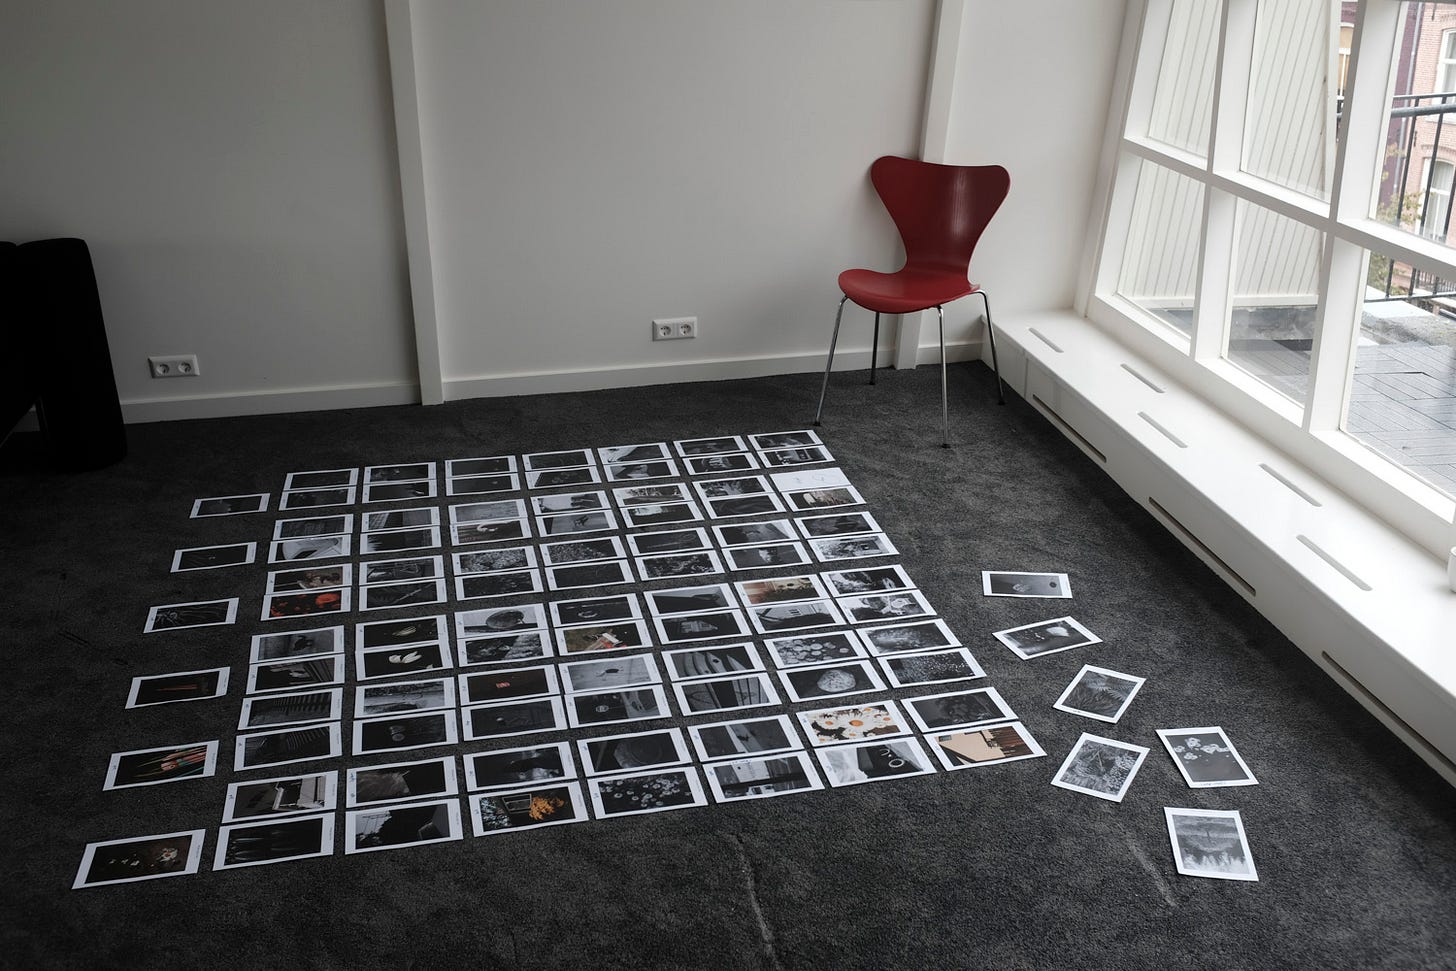
For me, the hands-on method works best—it allows me to connect more deeply with the images and intuitively understand the overall narrative. I begin by laying out the prints on the floor, moving them around until I sense the narrative taking shape, almost like solving a puzzle. Here was the start of sequencing NOTICE.
As I worked on NOTICE, I realized that the book would consist mainly of paired images. It was important to make sure that each image was coupled with the appropriate counterpart. The idea behind these pairings stemmed from observing echoes of scenes and moments within my work—images that resonated with each other, even if they were captured weeks apart or in vastly different parts of Vancouver.
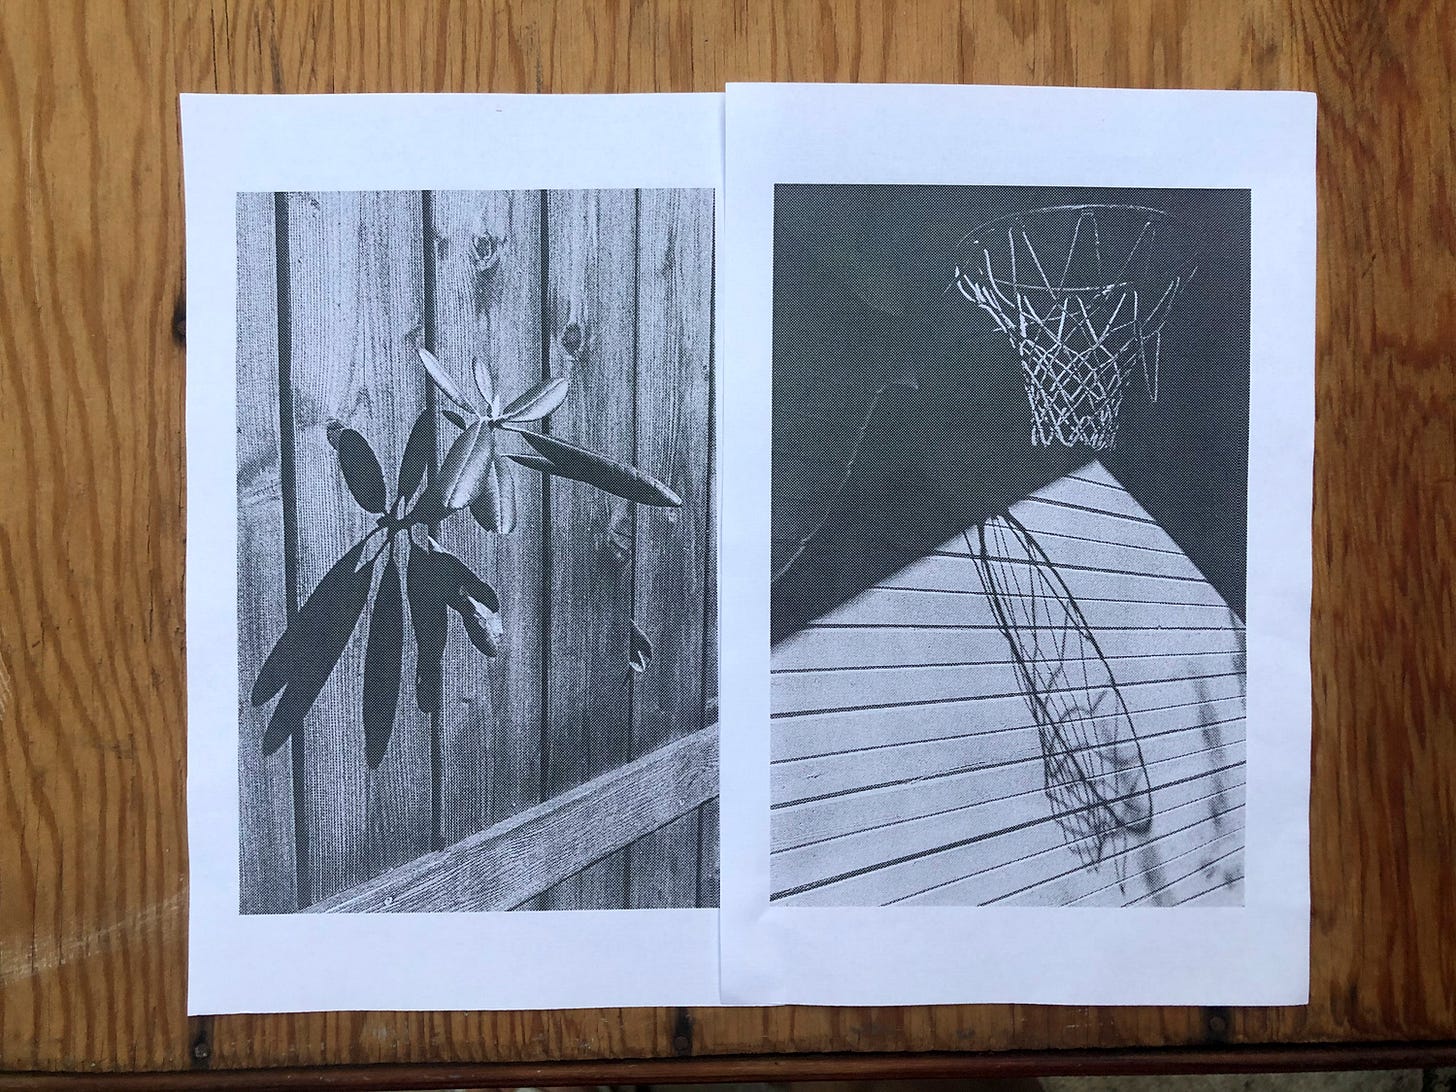
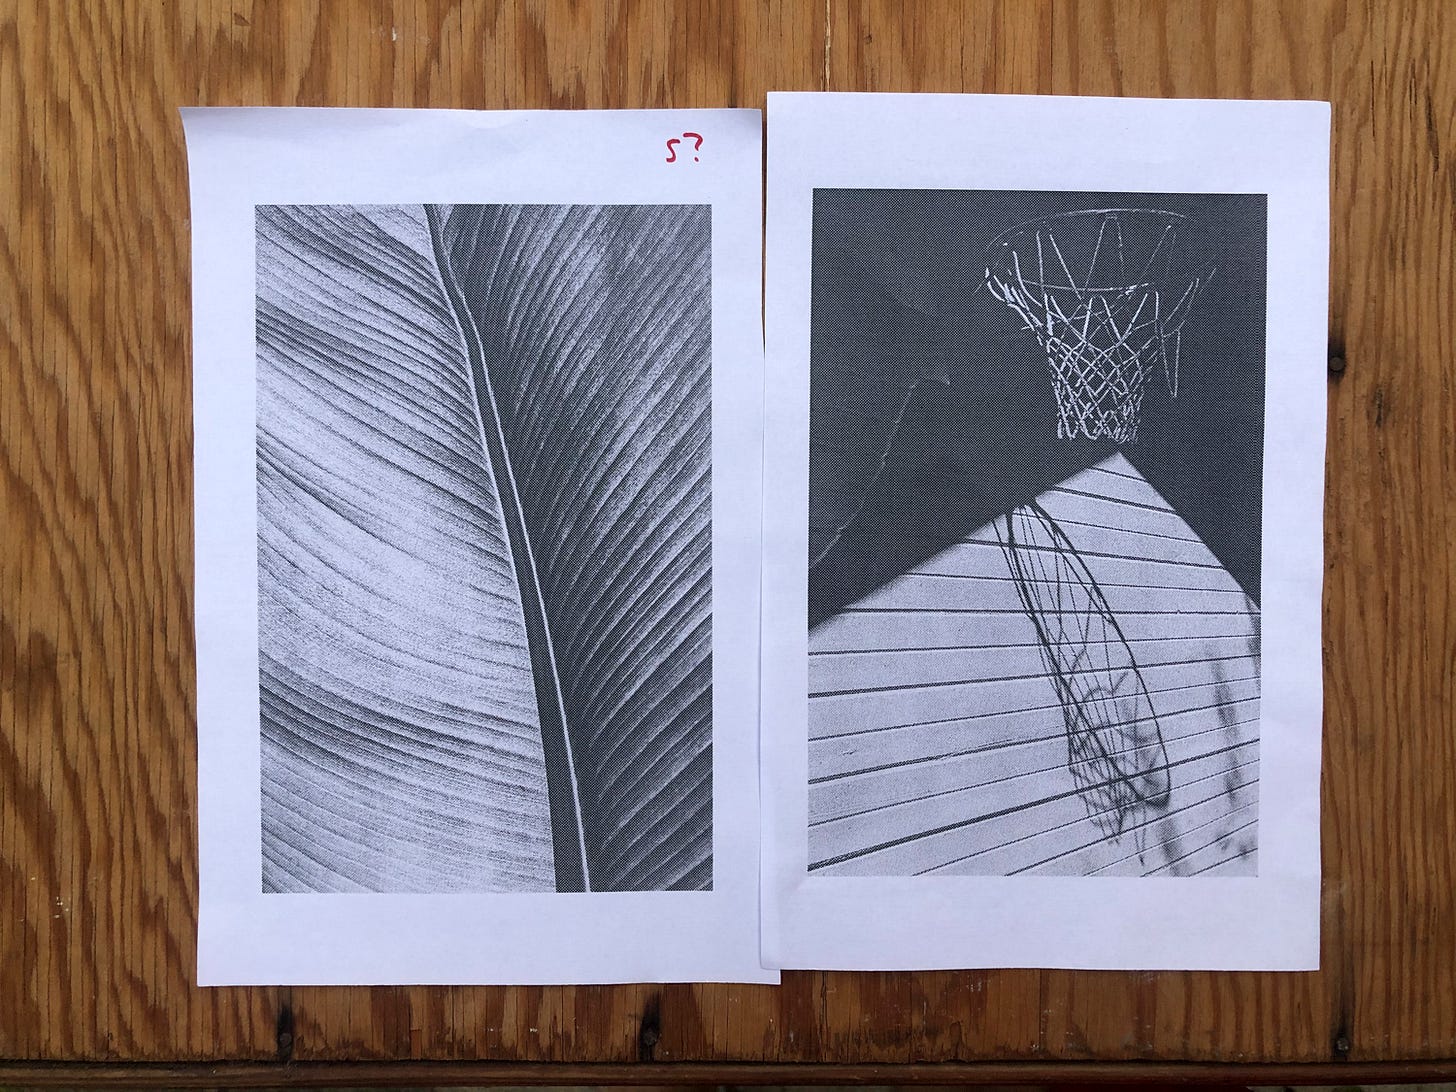
Here’s an example of a pairing from the rough draft of NOTICE:
And here is the pairing that actually ended up in the book:
Both pairings share similar internal references of line work and shadow, and both left-side images contain a plant. However, after discovering the second pairing, I decided to remove the left-hand A-side image from the book entirely. The second pairing proved to be much stronger, carrying more mystery and humor than the original draft.
To dig even deeper into the concept of paired images in my upcoming book NOTICE Journal, Volume One, I decided to use a half-frame camera for the entire project. This method allowed me to create pairings within the camera itself, giving up some control and introducing an element of unpredictability into the process.
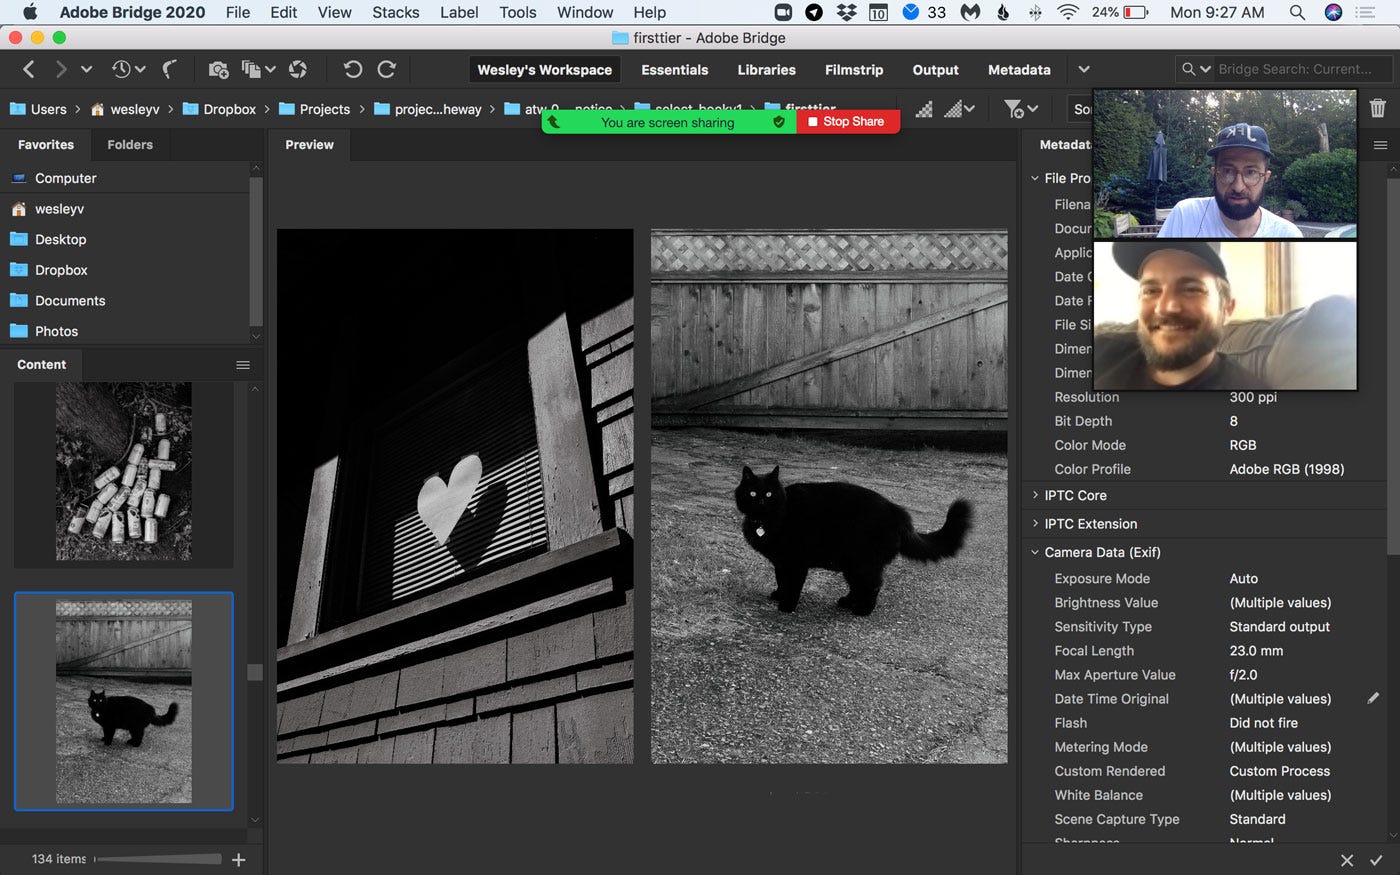
Adopting this half-frame approach did introduce an additional layer of complexity to my sequencing process. With each frame producing a pair of images, I was effectively creating pairings of pairs—adding an extra dimension to the arrangement and storytelling of the final book. (See below, working on the rough draft for "NJV1".)
3 — Discover Fresh Editing Tweaks
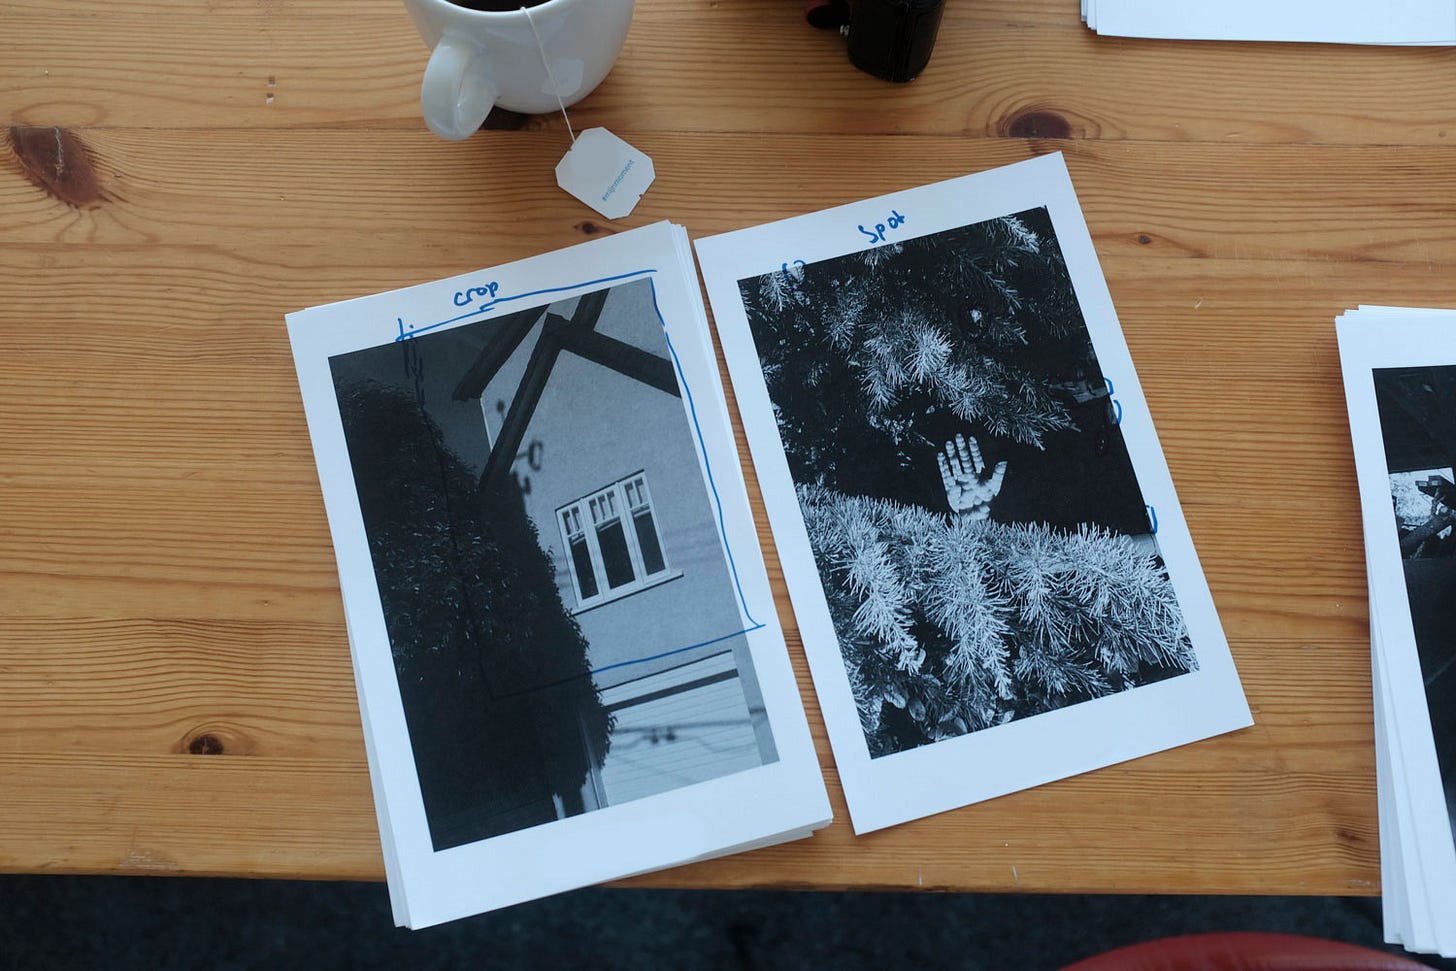
During the sequencing stage, it's not uncommon to gain new insights about cropping or composition, as happened with the image below on the left. As I was arranging the images for NOTICE, I felt that this particular photo would benefit from a significant crop. I made a note directly on the test print using a marker and then reprinted the image with the new edit before continuing to place it in the sequence.
4 — Evaluate Your Rough Draft
At this point, we review the images and their sequencing, paying particular attention to pacing, balance between images and white space, and how the narrative develops.
Drawing on my background as a songwriter and record producer, I usually view the arrangement of photographs as songs and albums. Each book will have a main narrative, but there could also be smaller sub-stories that need to be harmonized. More on that later.
5 — Get Feedback
Once you've created a rough draft and incorporated any changes or adjustments into a second draft, it is really helpful to have someone else review your work. This fresh perspective can offer valuable insights since, during the process of creating a book, we can become so immersed in our own work that it may be hard to maintain an objective point of view.
To get a well-rounded critique, consider inviting both photographer friends and non-photographers to share their feedback. Photographer friends can offer more technical advice and artistic opinions, while non-photographers can provide insight into how the general audience might perceive your work.
6 — Refine and Finalize
Keeping all your notes in hand, refine your image sequence and land on that final sequence. Below you'll find the first sequence draft of NOTICE, along with some images on the side that didn't fit the narrative and had to be left out.
The rhythm of this sequence turned out to be quite musical and even mathematical. One single image is followed by seven pairs, returning to a single image before repeating the pattern—almost like an album with seven tracks.
In this particular book, I chose to include both black and white as well as color images. The color images are way fewer in number than the black and white ones, with the color photos serving as a sort of rhythmic accent—like percussion—that propels the central, black and white narrative forward.
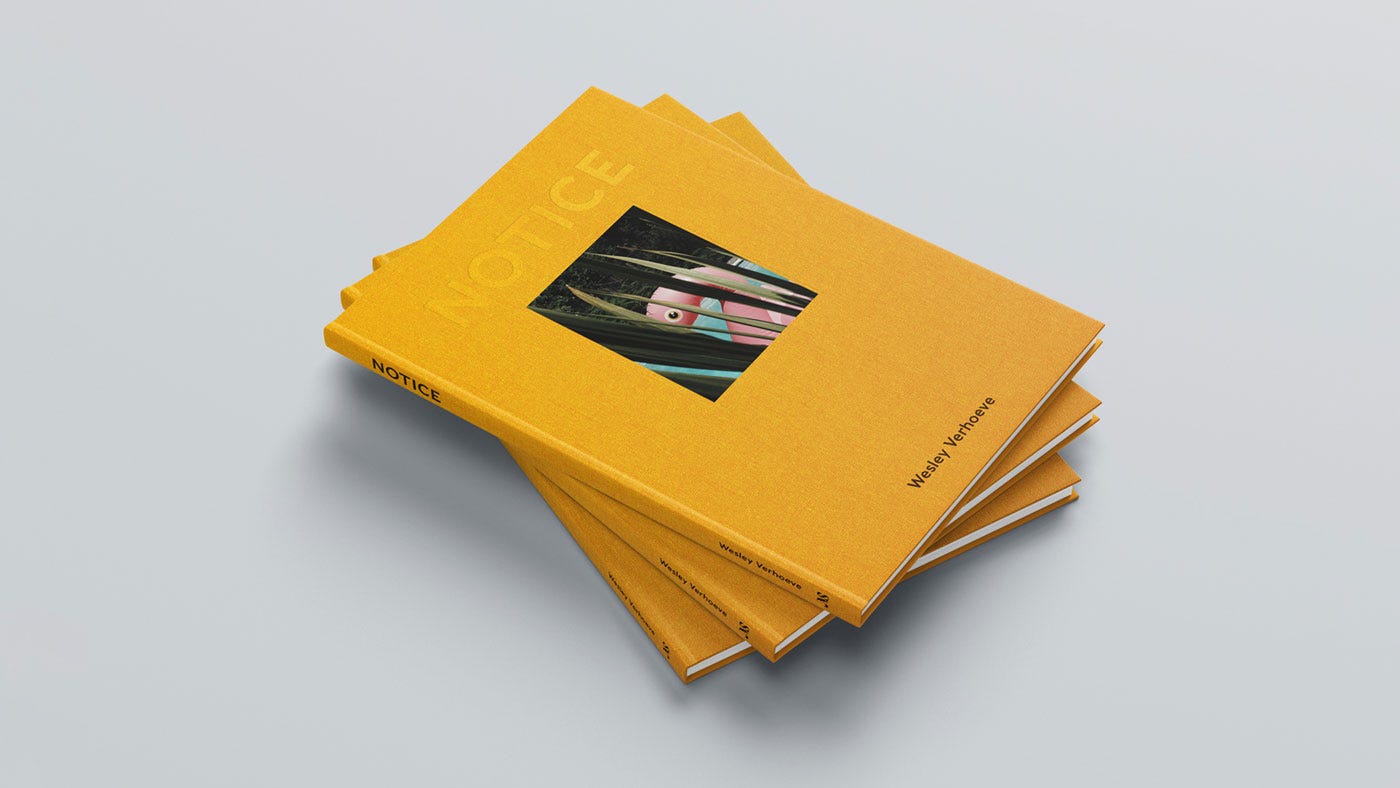
If you're curious to see how this combination of black and white and color images came together in the final product, you can order your copy of NOTICE today. There are just two remaining copies of the special edition first prints, but don't worry—we also have plenty of second edition copies available.
Upcoming Steps
Over the next period, I will share each step of making "NJV1," diving into the finer details and the overarching vision so you can see the entire process. Up next:
Step 4 — Design Layout
Step 5 — Create A Dummy
Step 6 — Edit and Revise
Step 7 — Write and Refine Text
Step 8 — Finalize Design
Step 9 — Choose Your Printer
Step 10 — Market and Launch Your Book
Past Steps
Step 1 — Finding The Right Concept to Build a Book Around
Step 2 — How To Select and Organize Your Images
Step 3 — Sequence Your Images and Build a Narrative
If you enjoyed this issue I’d love for you to share it with friends. Re-stacks helps a lot! It’s that little 🔄 symbol at the start of the issue.
If you enjoyed this issue I’d love for you to share it with friends.
Next Week: The fourth step of making a new book: NOTICE Journal, Volume One—designing a layout!
Keep shooting and take good care of yourselves and others. <3
Wesley
Gear & Tools Used
Camera: BTS images shot on my Fujifilm X100F. Images for NJV1 are shot on the Olympus Pen-F. Images for NOTICE were shot on a variety of cameras including the Pentax LX, Pentax 67ii, Fujifilm X100F, and the Canon 5D Mark IV.
Film Stocks: Kodak Portra, Kodak Tri-X, Double X, Ilford Delta 400, and more.
Shout out to MPB.com, my go-to place to buy, sell, and trade used cameras and lenses. I love their service and am a paying customer. MPB caters to over 625,000 visual storytellers and provides a 6-month warranty. Thanks for the support, MPB! <3
Lab: All my analog work is developed and scanned by my friends at Carmencita Film Lab. They’re my favorite lab in the world. Use code “PROCESS” to get a free upgrade.


What a great series this set becomes. Really valuable lessons in sequencing. Am very inspired by your half-frame approach.
Where can I sign up for the Process Photowalk on May 5th? Would live to join.
Love the connection you made with music and sequencing. I used to work in music too and have often thought about how building a track listing for an album is the same as photo sequencing; working to achieve the right balance of ebbs and flow.