Process 097 ☼ Light Painting With Reflectors
+ Paris update + Process growth + Roll Exchange
Dear friends,
This week’s letter is about one small and affordable tool that can really up your portrait work: the humble reflector!
I just returned from Paris feeling incredibly inspired, and excited to go back again in June and July. I shot a dozen rolls of medium-format street photography. The people I met were not only kind but also remarkably talented. If you're interested in booking an in-person mentor session during either of those two months, you can do so here.
Asking For Your Help — Growing Process
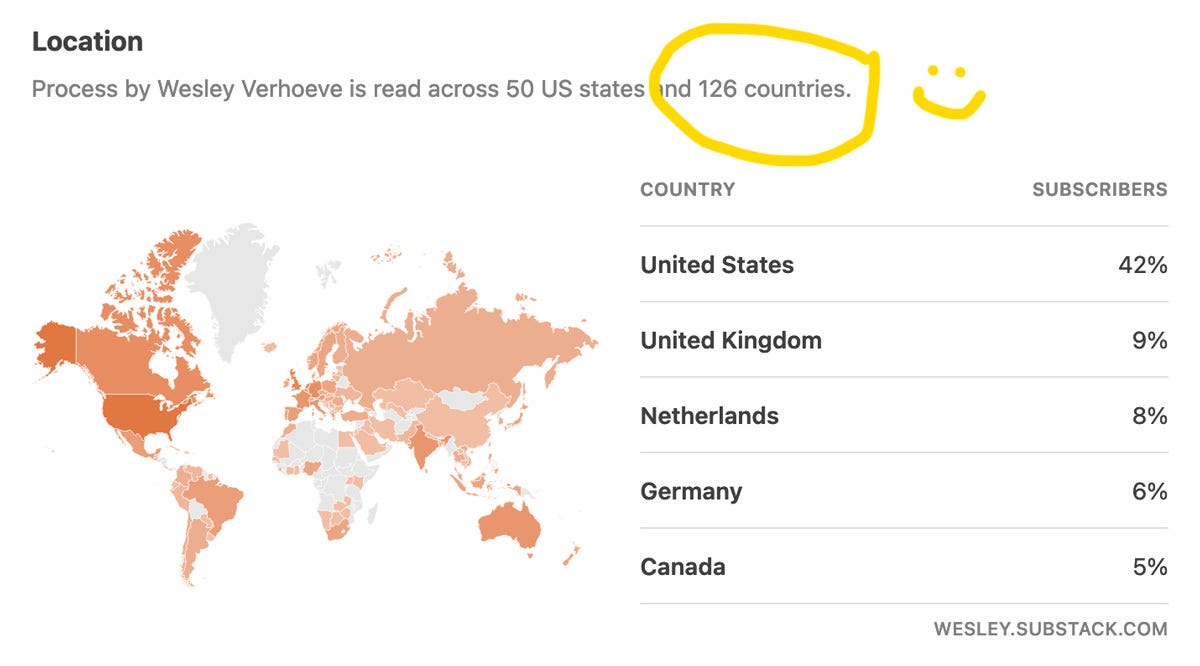
As of today, about 8,000 people from 126 countries subscribe to Process, which is amazing! With issue 100 (!?) coming up, I would love your support in spreading the word and helping this wonderful community toward the 10,000 subscribers milestone.
Please share this link if you like what we’re doing here or press the button below.
(Especially if you have photo friends in places like Mongolia, Nicaragua, or Greenland.)
Reflecting On The Bounce
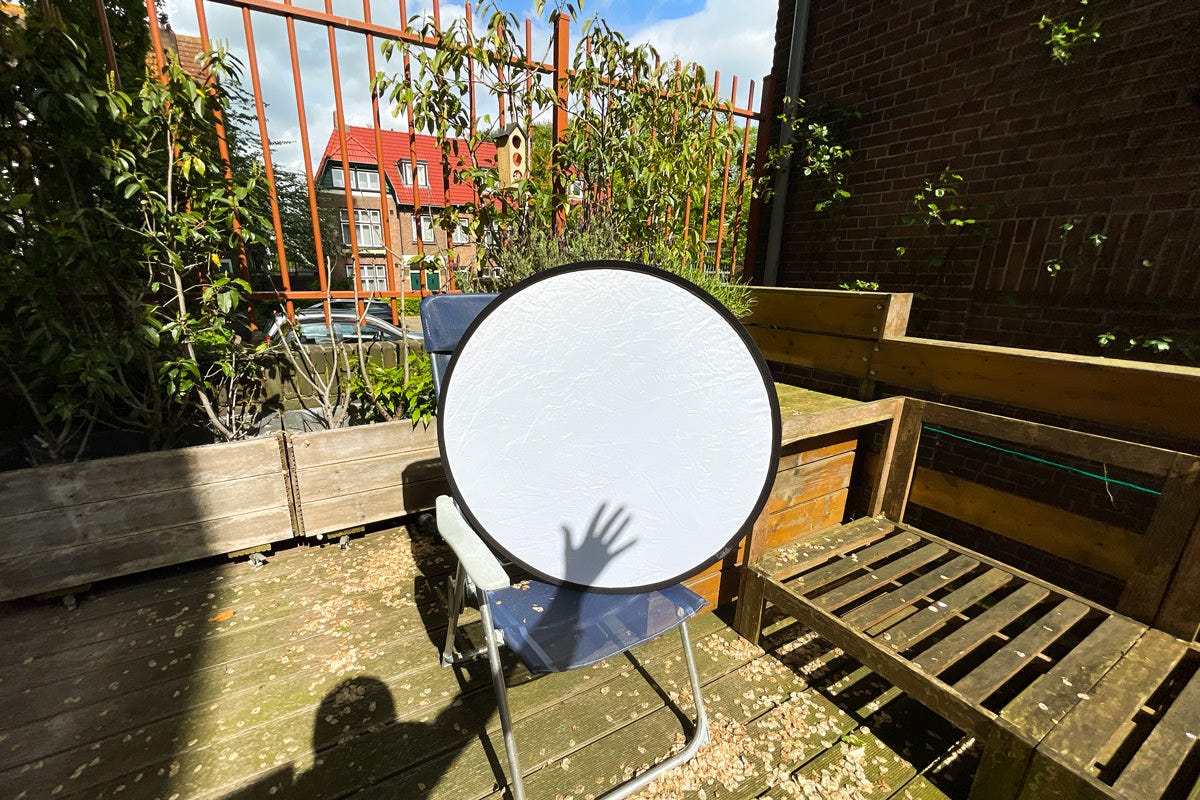
Today, I want to chat about a nifty little tool that can make a big difference in your portrait photography: the humble reflector aka bounce. This is what it looks like:
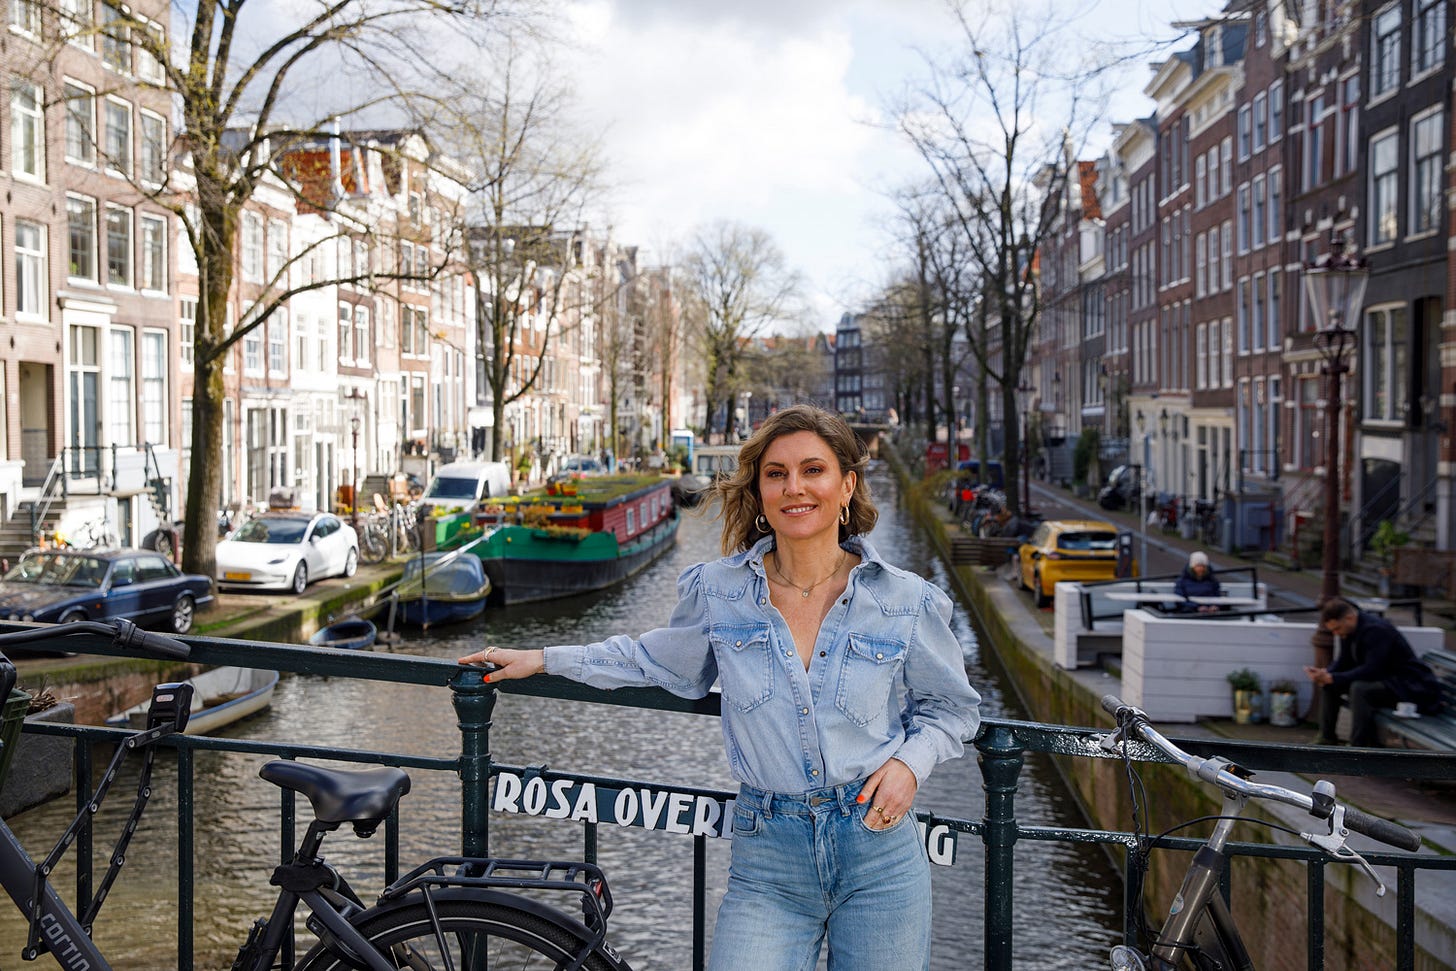
Picture this: A few weeks ago, I hopped on my trusty bike and pedaled my way to the shoot for Cycling Magazine. It was a beautiful day in Amsterdam, with fast-moving clouds and occasional rays of sunshine peeking through.
As I arrived at TV presenter and writer Orla Chennaoui's home, I was thrilled about the state of the weather because it had been rainy and grey every single day of the previous week leading up to the shoot. It wasn’t all sun, but at least we had some blue sky to work with to make Amsterdam look joyful and fresh.
Now, you might be wondering, why on earth did I bring up my bike? Well, first of all, I live in Amsterdam and that’s the fastest way to get around. Second of all, all the gear I needed fit in my backpack, including the topic of today’s issue: my reflector.
One of the great things about using a bounce is that it's incredibly lightweight and portable. Certainly compared to lights. It folds up so small that you can easily slip it into your backpack and take it with you on any adventure. So, there I was, bike parked outside, camera gear on my back, and my trusty bounce tool ready to go.
Inside Orla's beautiful home, I was greeted by my assistant extraordinaire, Taylor. As we set up for the shoot, I couldn't help but feel a mix of excitement and nerves. The ever-changing lighting conditions outside meant we had to be quick on our feet and adapt to whatever the clouds and sun decided to throw our way. But hey, that's what makes photography so thrilling, right?
Taylor set up the camera for a while I got to know Orla a bit and discovered we had a lot in common, including a summer I spent in her hometown region in Northern Ireland. This helped our conversation flow naturally and comfortably from the start.
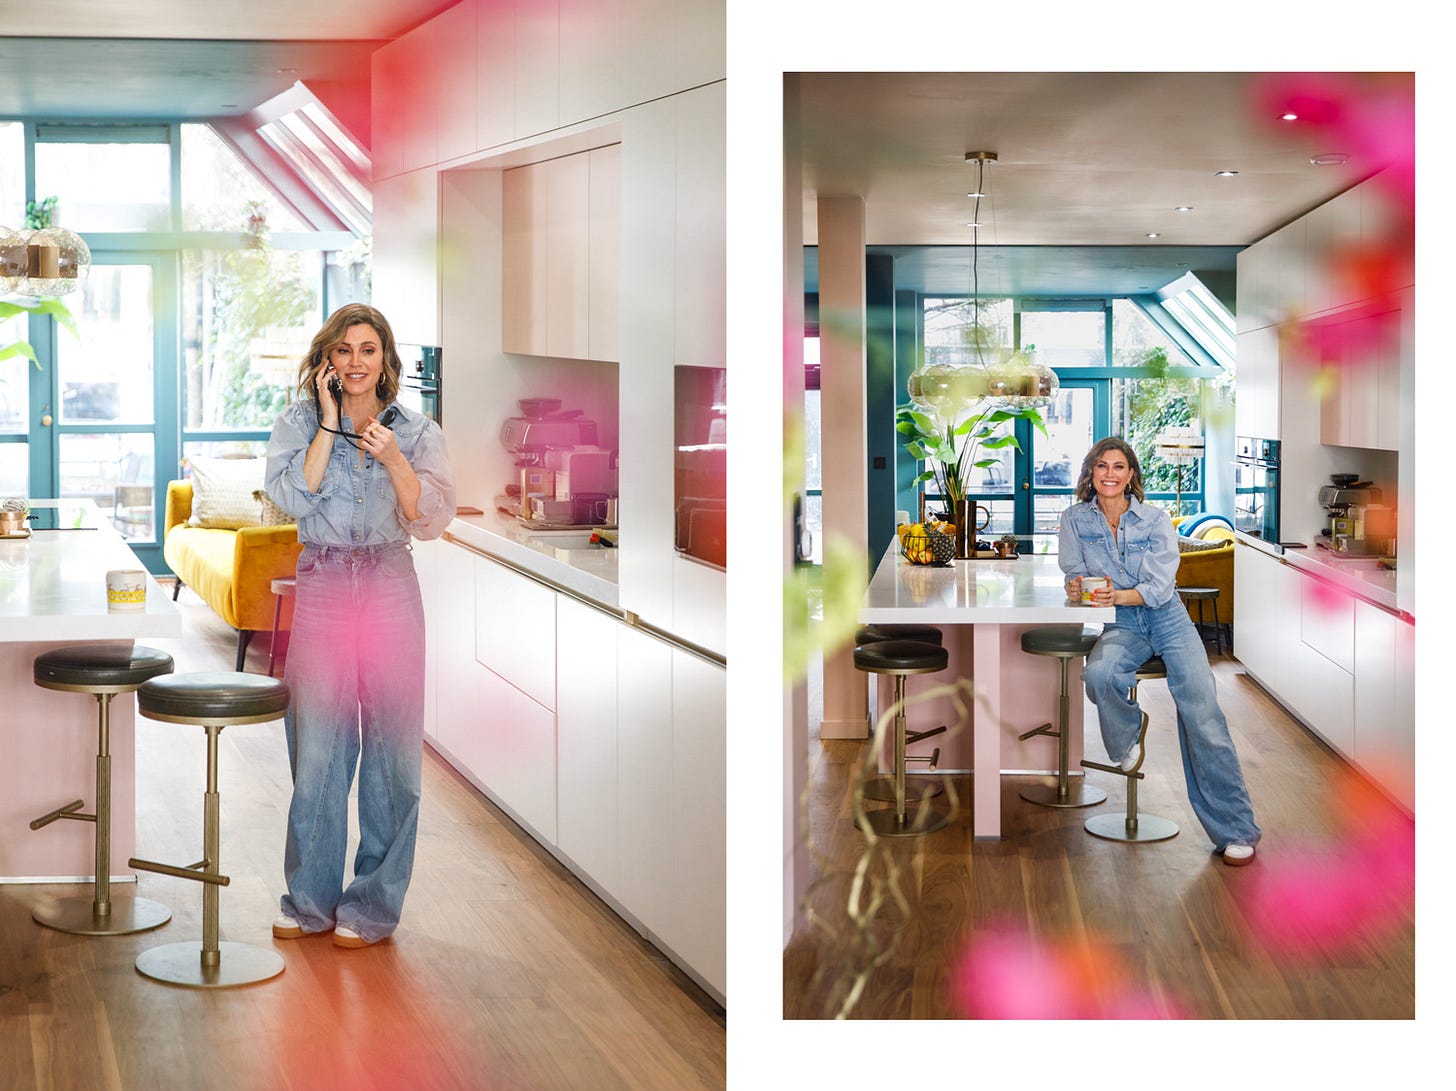
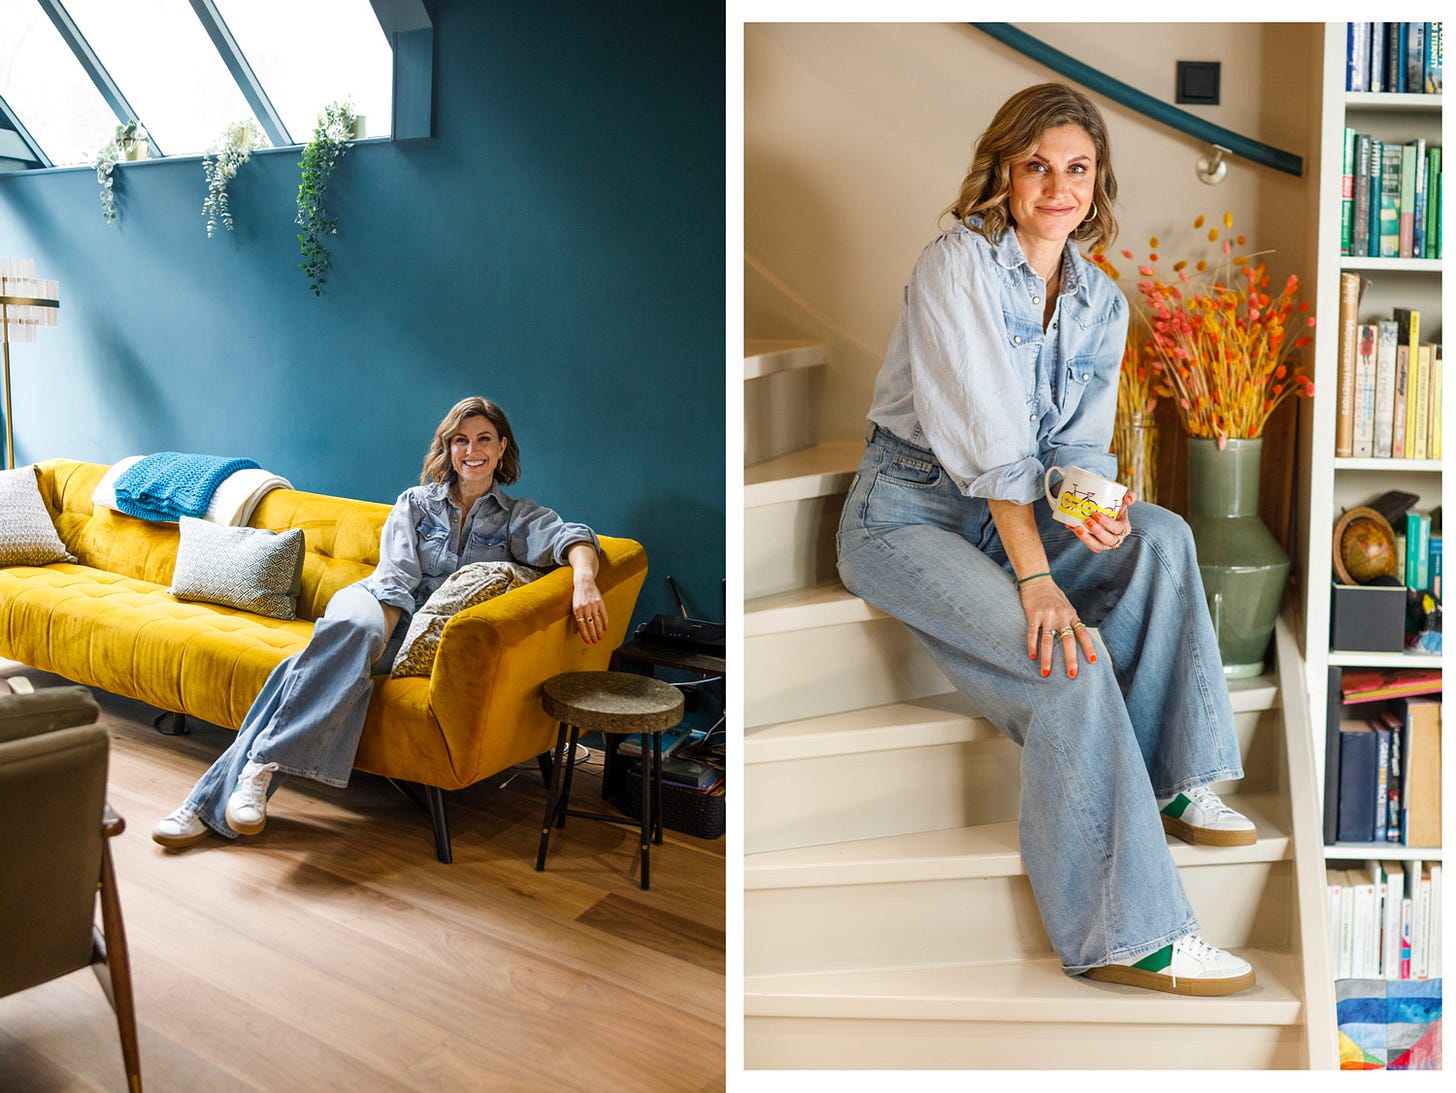
We started by taking some portraits in Orla’s kitchen and living room.
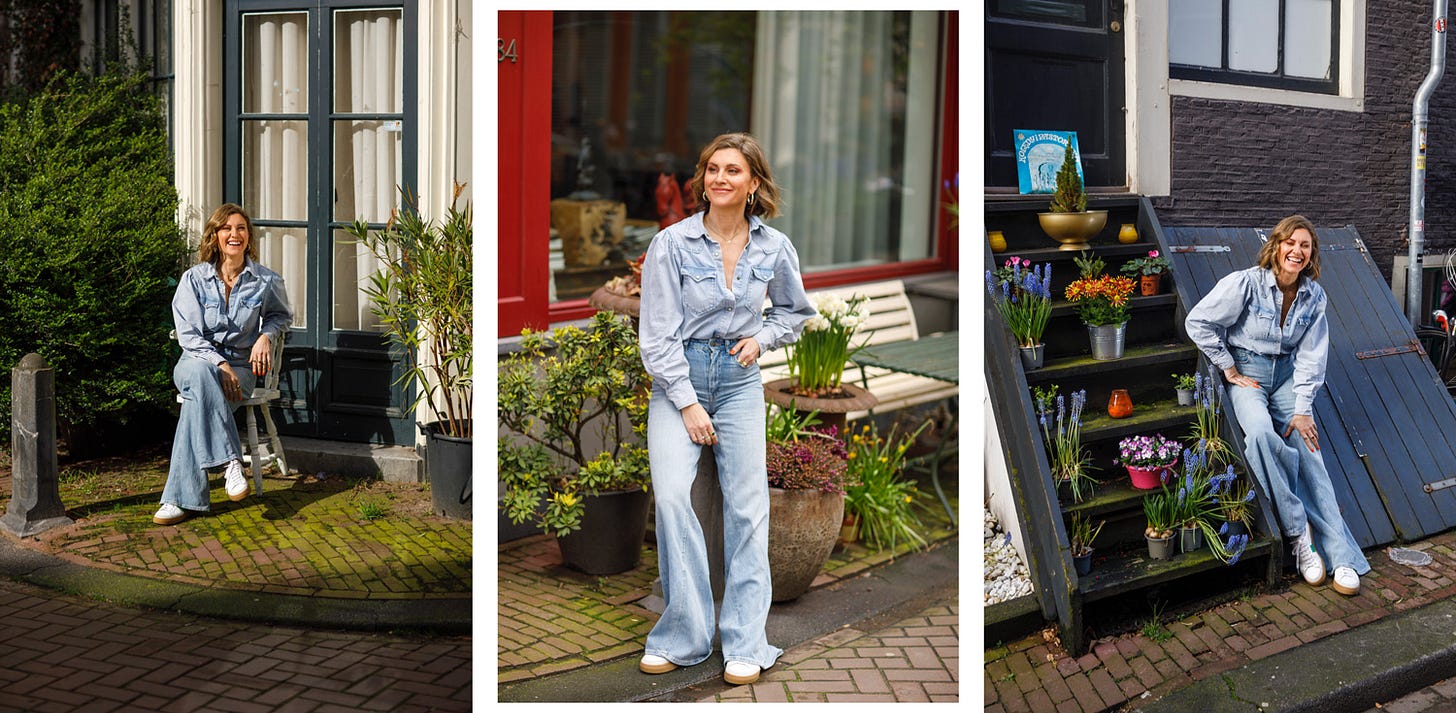
Once we got all the easy-to-spot pictures out of the way I wanted to go outside and see if we could capture Orla in her beautiful neighborhood and make some magic happen with today’s intermittent sunshine.
As we started shooting, Taylor stepped up, maneuvering the bounce tool like a pro. He found the perfect angle to catch those precious rays of sunlight and reflect them onto Orla as she stood in a shady area to avoid harsh shadows from direct sunlight.
Taylor’s movements were creating delicately crafted strokes of light to create a bright and beautiful aura around our subject. This was a great example of the power of working with a great assistant for long enough to build up an understanding that requires few words.
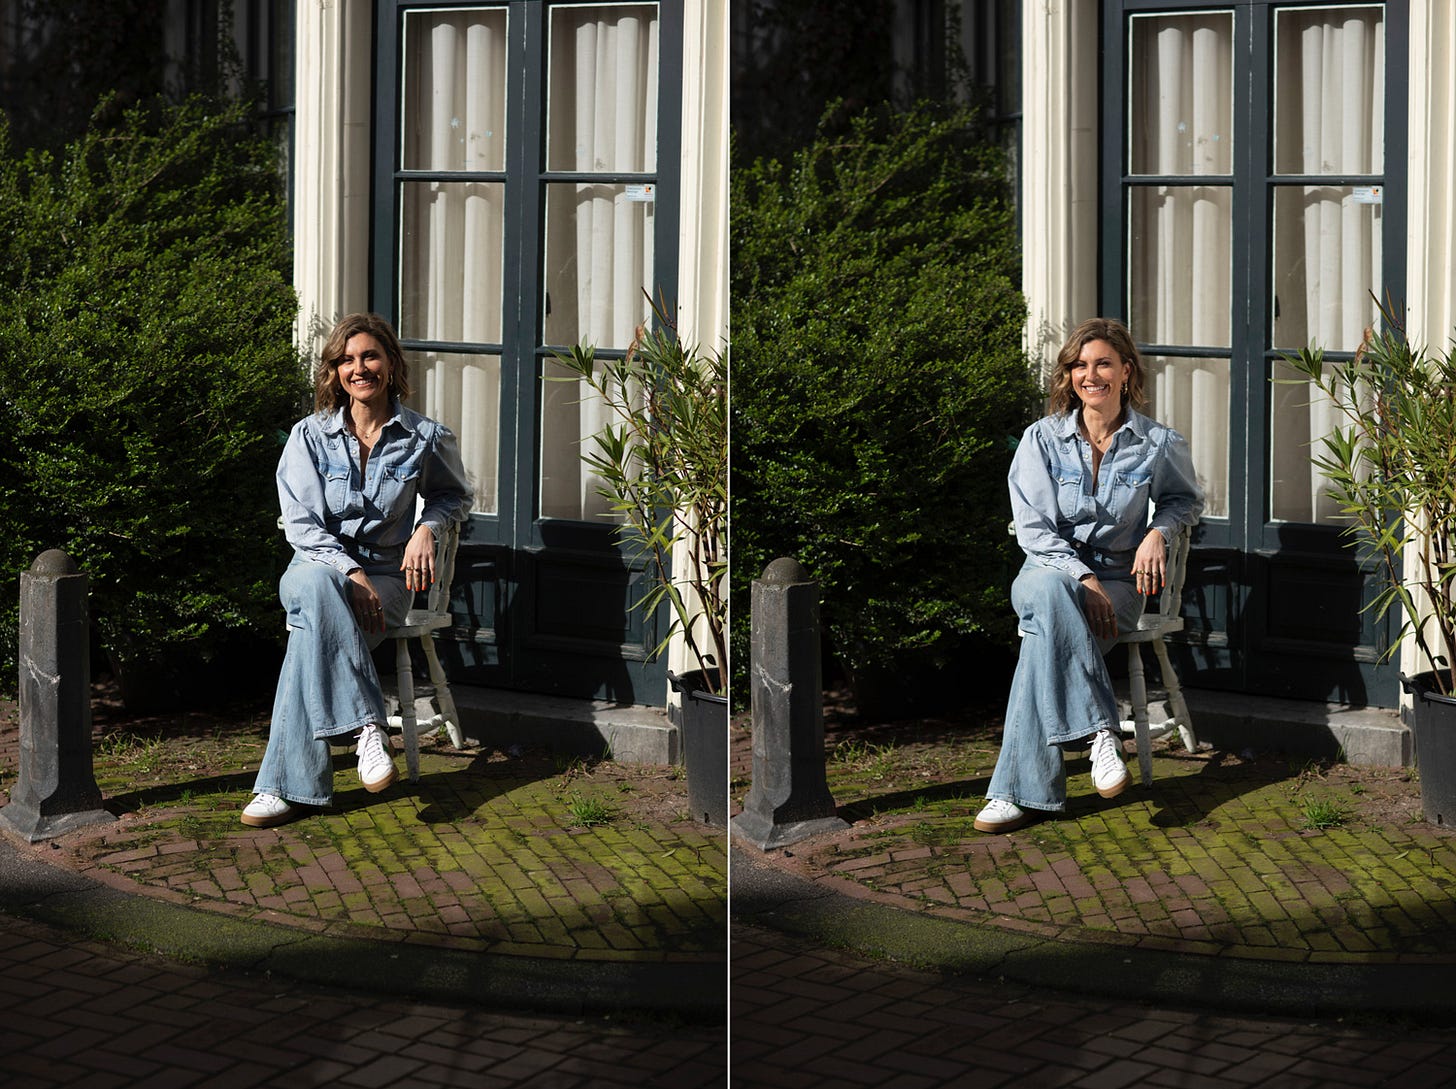
Below is an example of a shot without the reflector and one mere seconds later using the reflector to light up Orla’s face. The difference between ehhhhh and ohhhh!
As Taylor skillfully worked his magic with the bounce tool, I couldn't help but appreciate the incredible versatility of this lightweight accessory. Not only did it create beautiful lighting for our portraits, but its compact size made it incredibly convenient to carry around. No heavy gear weighing me down—just me, my bike, and a bounce tool tucked away in my backpack.
Orla's vibrant personality came to life against the backdrop of her home and neighborhood, illuminated by the gentle dance of sunlight bouncing off the reflector. It was a lovely collaboration between nature, technology, and human creativity.
As I reflect (get it?) on this experience, I want to emphasize that photography is not just about the technical aspects of the gear you use. It's about the connection you establish with your subject, the story you want to tell, and the willingness to adapt and experiment with the tools at your disposal. The reflector is just one of those tools—a humble companion that can elevate your portraits from ordinary to extraordinary.
So, my fellow photographers, embrace the bounce! Embrace the joy of carrying a lightweight tool that can transform your portraits and illuminate your subjects with a touch of magic. Whether you're shooting in the great outdoors or in the comfort of someone's home, let the bounce guide you toward capturing the essence of your subjects and the beauty of light itself.
Remember, photography is an ever-evolving journey. It's about pushing your boundaries, learning from your experiences, and honing your craft. So, grab your camera, pack your bounce, and set out on your own adventures. Embrace the process, the challenges, and most importantly, embrace the joy of capturing a moment in time.
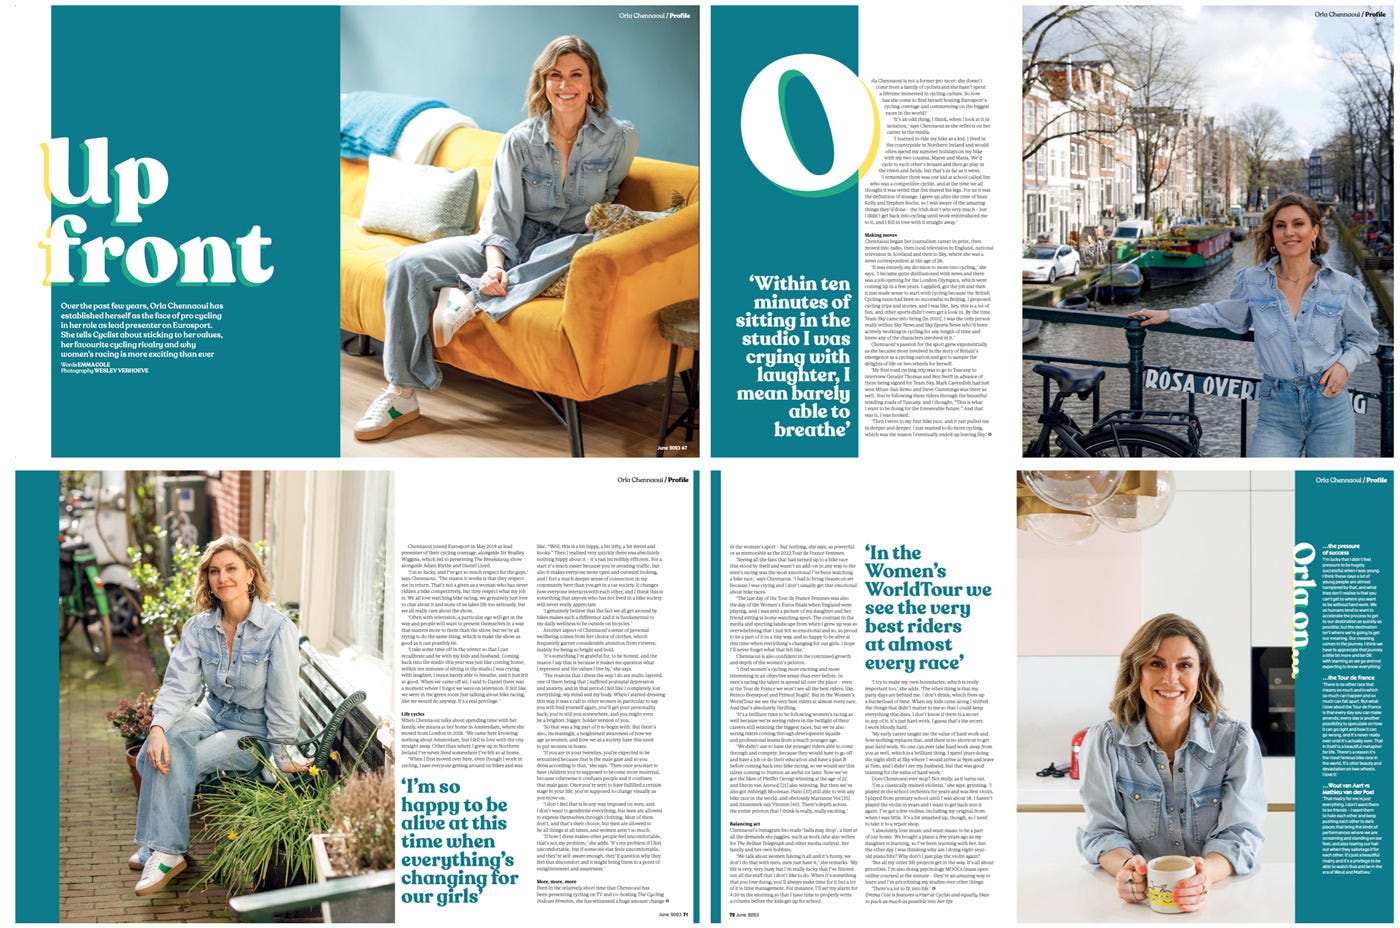
Major shout out to Taylor for the assistance, Pete and Rob at Cycling Magazine for the trust and the assignment, and Orla and her husband Mourad for the hospitality. Below are the images in use in a beautifully designed eight-page spread.
Takeaways & Tips
So, why should you consider using a bounce or reflector? Well, let me break it down for you. Here are eight tips and tricks to help you get the most out of this handy tool:
Find the right angle: Experiment with different angles and positions for your bounce or reflector to get the desired effect. Don't be afraid to move around and try different perspectives. Drop it to the floor, and hold it up high.
Size matters: Consider the size of your bounce or reflector in relation to your subject. A larger surface area will generally create a softer, more diffused light, while a smaller one can produce more focused highlights.
Play with colors: Some reflectors come in different colors, allowing you to experiment with different tones and moods. Try using gold or silver for warm, dramatic effects, or white for a natural, soft glow. For these shots we used white.
Be aware of the environment: Keep an eye on your surroundings and how they interact with your bounce or reflector. Reflecting light off a nearby surface, such as a wall or a sheet, can add an interesting touch to your portraits.
Timing is everything: If you're shooting outdoors, pay attention to the changing light conditions. Wait for those beautiful golden hours when the sun is low in the sky, or embrace the dramatic effects of overcast skies.
Practice makes perfect: Don't expect to master the bounce or reflector technique right away. It takes time and practice to understand how light behaves and how to manipulate it to your advantage.
Have fun with it: Photography is all about creativity and self-expression. Embrace the process, be open to happy accidents, and don't be afraid to break the rules. Let your imagination run wild!
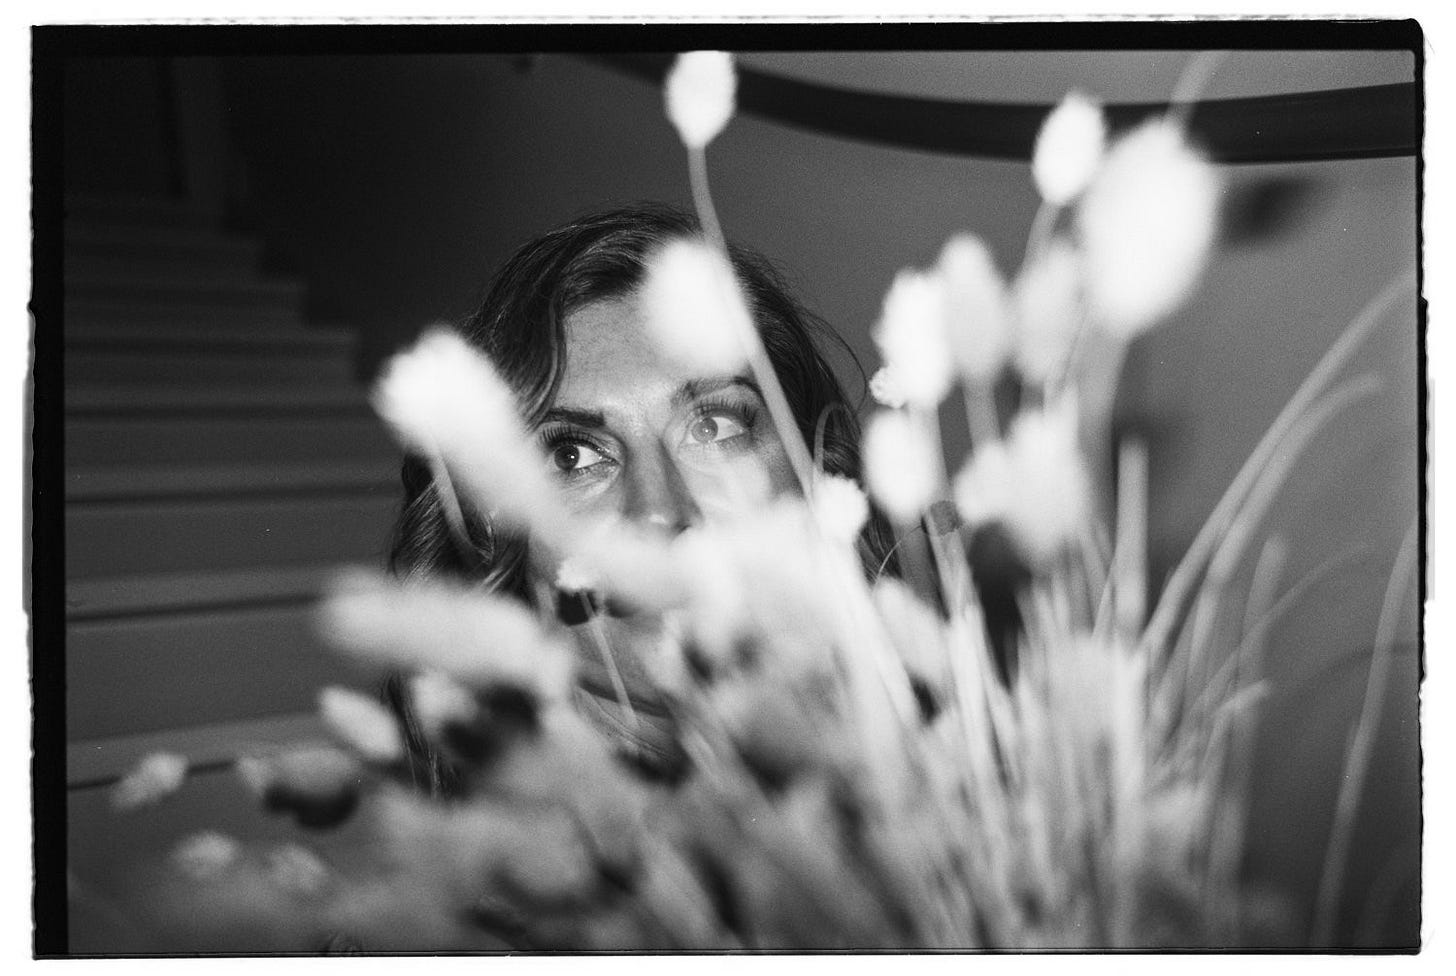
I also took some artsy shots on film as a little bonus. Above is one of my favorite shots, developed and scanned by my friends at Carmencita Film Lab. They’re my favorite lab in the world and I’m grateful for our collaboration. <3
Gear Used
Digital — The digital images were shot on the Canon 5D Mark IV using the Canon EF 24-70mm f/2.8 L USM and Canon EF 85mm f/1.2 L II USM lenses.
The links above will take you to MPB.com, which is the leading global platform for buying, selling, and trading used photo and video equipment. They cater to over 625,000 visual storytellers and provide a 6-month warranty. I’ve bought from them and loved the experience. Thanks for supporting the Process community, MPB! <3
Analog — The film shot was taken with the Contax G2, a Carl Zeiss Planar 35mm F/2 lens, and the TLA200 Flash unit. These links will take you to my pals Fotohandel Delfshaven where I bought mine.
Accessories — Tarion Reflector, not currently available but Amazon has others.
That’s it for this week!
Next week: How I Started as a Professional Photographer Pt. 3 (2017-18) aka my return to analog photography! Wait, you’re not subscribed yet? Let’s fix that.
Keep shooting and take good care of yourselves and others.
Wesley
PS The Process Community Roll Exchange Program is open for a bit longer so if you'd like to be matched with a fellow reader to collaborate on something fun add your info here.
Did you enjoy this issue? Share it with a friend who might love it too.
Can’t get enough? Browse the Process Archives.

