Process 026 ☼ Bleaching FP100c Instant Film To Create Negatives
Giveaway: a beautiful Bryan Birks print
Dear friends,
Today’s letter is an improvisational jazz fest of a photography newsletter. I will talk about the process of recovering negatives from FP100c instant film, which is not an official use for this film. Put on the MacGyver theme song, and keep on reading.
For this week’s giveaway we have a gorgeous print by the talented Bryan Birks.
What is FP100c film?
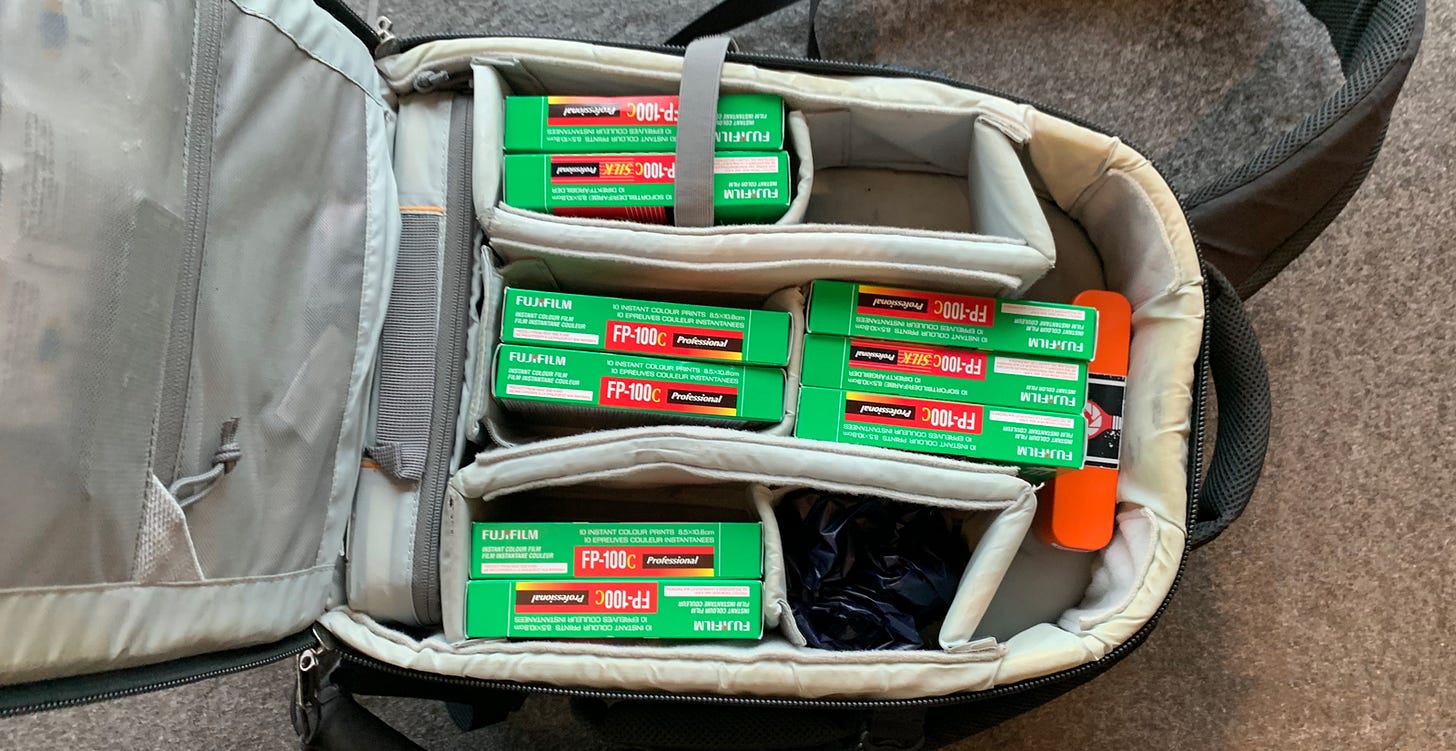
As you may know from my incessant gushing on my Instagram story, Fujifilm FP100c is possibly my favorite film stock of all time. It’s a peel-apart instant color film that was discontinued in 2016 and is unlikely to ever come back.
Shooting FP100c fills me with great joy. It’s increasingly difficult to find, but sometimes I get lucky and travel two hours by train just to dig up a small batch.
For those of you who aren’t familiar with peel-apart pack film let me explain how it works. You take a photo, then manually pull the shot out of your camera. The film passes through rollers which squeeze a chemical emulsion across the surface of the film to develop the image as you wait.
After about 90 seconds you peel the backing off to reveal the photograph. Immediately after peeling the backing starts fading to black. Below is a portrait of my friend Caro alongside the backing right after taking the photo. Ten seconds later it was jet black.
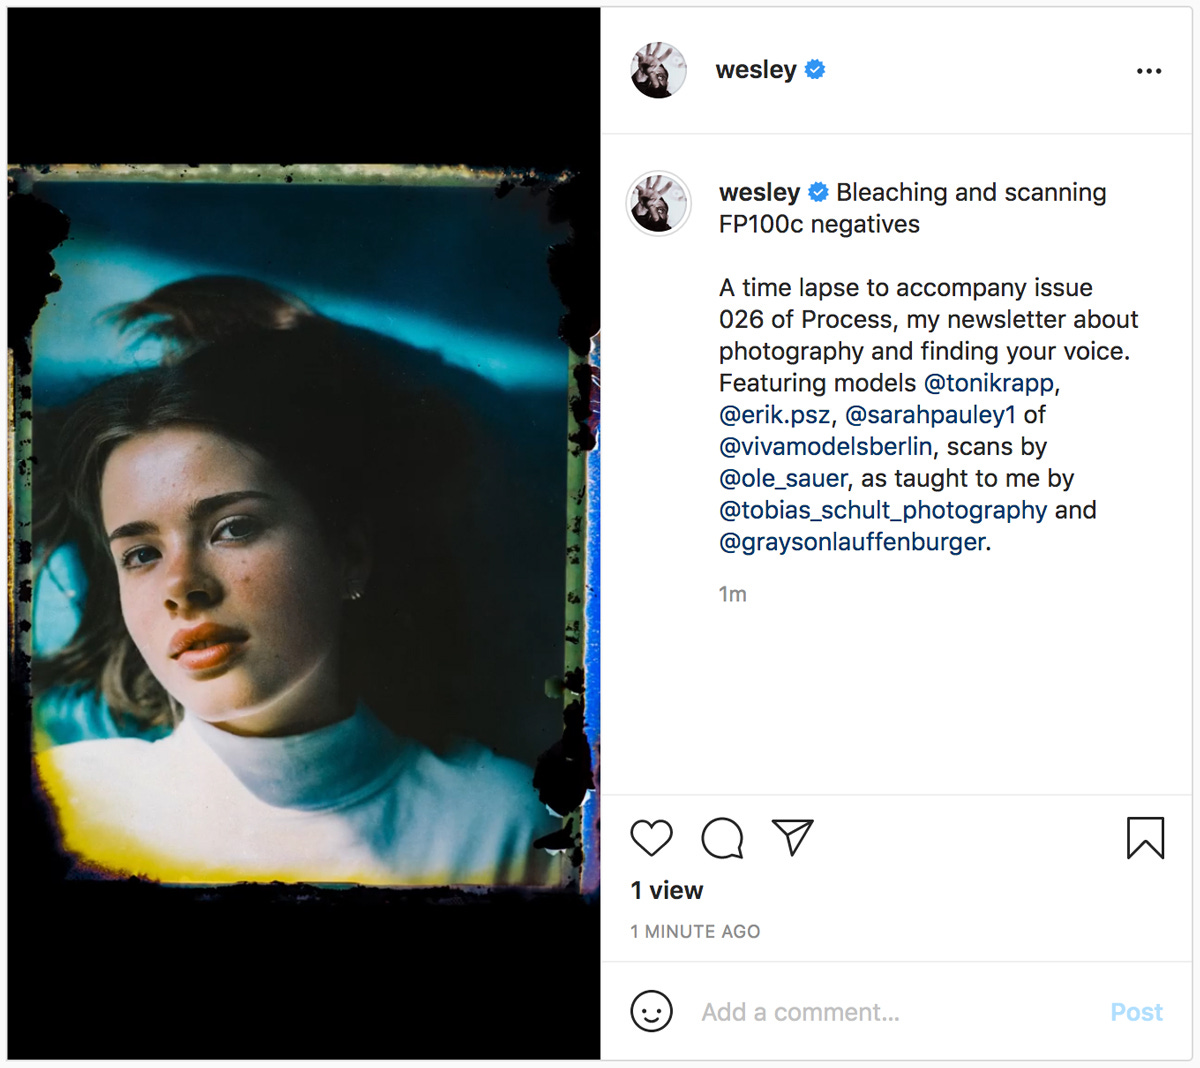
This backing carrier is covered in gooey chemicals and usually thrown away right after. However, two summers ago my friends Tobi and Grayson showed me how to recover a negative from this bit. While each FP100c shot is a unique one-of-one photo, the negative allows me to scan an alternate version of the photo for my archives.
For those of you with the opportunity to shoot some FP100c before it’s all gone, I wrote out the process of recovering the negative below. Before you continue reading, look at this 1- minute video on my IG TV, and then come back for the details.
Supplies Needed
To recover a negative from a FP100c backing carrier, you need a few supplies:
Bleach, the kind you use to clean your toilet
A dish sponge
A plate of glass, like you find in an art frame or hardware store
Protective rubber gloves
Seven Steps To Recover A Negative
This is kind of a messy job so I recommend doing a bunch of these back-to-back to save yourself cumulative clean-up time. For all my fellow visual learners, each of the following steps is also illustrated in the video above.
Step 1 — Strip the negative of all paper
Most of the paper will come off easily, with the exception of the last little strips that form a white frame around the image. Try to get off as much as you can, but don’t worry about any residual frame paper because they’ll come off in the next step.
Step 2 — Rinse off the chemical residue with water
The gooey chemical emulsion responsible for developing the photo is still present on the negative and needs to be rinsed off with lukewarm water. Use your fingers to gently rub it off in a circular motion as you let the water rinse off what you loosen up.
Step 3 — Wet your glass place and place the negative on it
Now that you’ve cleared off the chemical goo you’ll be left with a black rectangle.
Next, cover the glass with water and place the negative onto it with the emulsive side down (aka the previously gooey side). This is very important, because if you have it the wrong way around the bleach will ruin the negative.
Putting water on the plate first is key as well, because it will create a suction effect that will protect the image from the bleach in our next step.
Step 4 — Apply the bleach
Safety note: bleach is an aggressive, toxic substance and should be handled it with extreme care. It can damage your skin, your eyes, and even your lungs if you breathe in the fumes. Use rubber gloves and work in a well-ventilated room.
After you’ve placed the negative face down onto the water-covered glass plate, rub it with your fingers to make sure to push out any residual water or air between the negative and the glass. This prevents bleach from slipping underneath.
Now pour just enough bleach onto the negative to fully cover it. You can pick up the glass plate and angle it gently so the bleach runs in the direction you need it to.
Wait as the bleach dissolves the backing black for about 60 seconds.
Step 5 — Rinse the negative and scrub with a sponge.
With the negative still in place on the glass, rinse the bleach off with water from your tap. Once the bleach is off, take your sponge and gently rub down onto the negative and away from your body to take the black off. Repeat until all the black backing is gone. Now rinse again to remove any remaining bleach from the glass plate.
Step 6 — Take the negative off the glass
After all the bleach and black stuff has been rinsed and scrubbed off, remove the negative from the glass plate. Hold it up to a window or light source, marvel and exclaim “Excelsior!” and then proudly gaze at your accomplishment.
You now have rescued a negative from certain death.
Step 7 — Let the negative dry
You can either hang the negative or rest it on a clean towel. It should only take 20-30 minutes for this baby to completely dry.
Step 8 — Scan the negative
Now you have a beautiful negative ready for scanning. In the IGTV video, you’ll notice that Ole used a DLSR set up to get a clean scan from the negative. If you don’t have a set up like this, you can use an app like Film Lab, or ask your lab to scan it for you.
Below is the original FP100C of Jutta alongside a scan of the recovered negative. The damage around the edges is a result of me being a bit rough during the process.
What is so unique about this film is that there will only ever be one single physical copy of each photo in existence. The recovered negative will always look different.
Notice Book Update
This week we are finishing up the online shop where you will able to put in your pre-order. I’m learning about CSS and all kinds of nerdy stuff and it’s kind of….fun?
We’re also finalizing our cloth choice, picking one color for the regular edition of Notice and another color for the special edition. There will only be around 50 copies of the special edition and 10 of these will be sold as a Deluxe Special Edition accompanied by…you guessed it…an original FP100c image!
During my last week in Vancouver I revisited some of my favorite daily photo walk locations with a rented Polaroid 600 SE camera and two packs of FP100c film. Those of you who grab a Deluxe Special Edition of “Notice” will own the only copy that will ever exist of these photos. First time I’ll ever part ways with an FP100c I shot!
That’s it for this week. Even if you don’t have access to FP100c, see if you can have some instant photo fun. Fuji Instax is a great format and very affordable.
Keep shooting and take good care of yourselves and others.
Wesley
Process Giveaway!
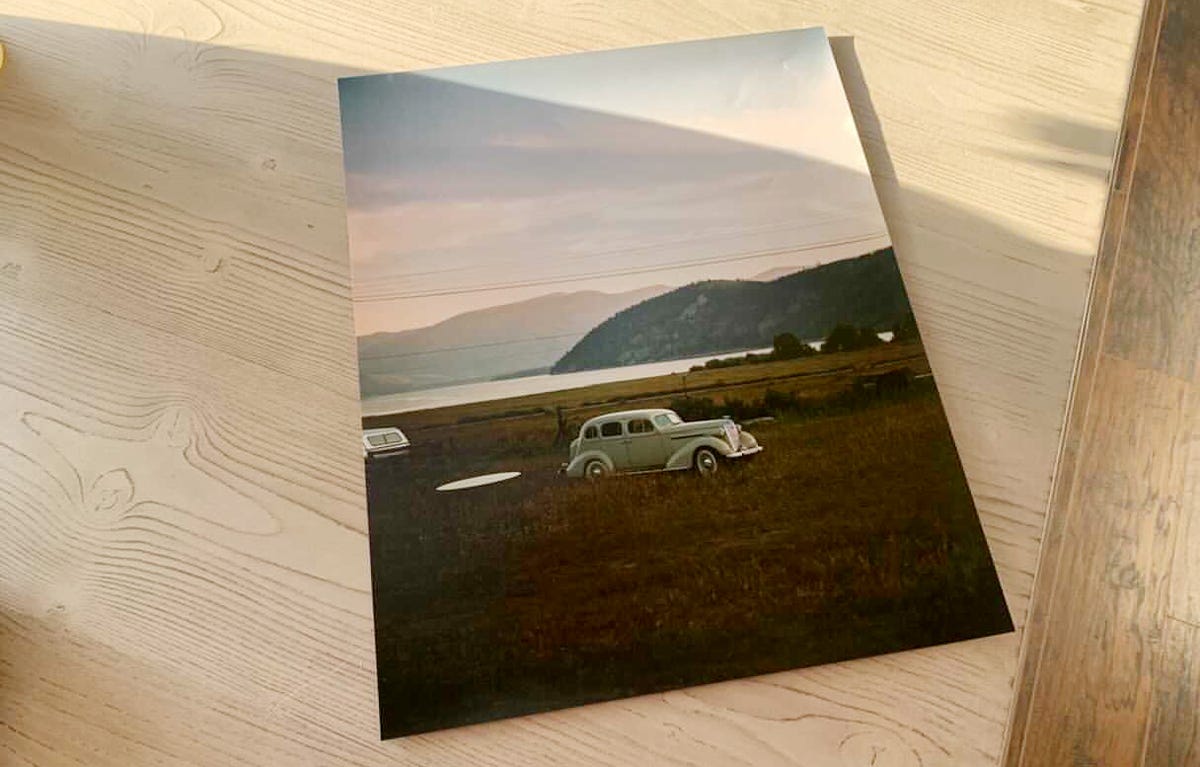
My pal Bryan Birks is a great photographer and filmmaker from St. Louis who also has an engaging youtube channel where he shares his experiences shooting medium and large format work. One of his projects is shooting gorgeous classic cars and he has kindly made available this beautiful 16x20 inch print of one for this giveaway.
To enter email me at hello@wesley.co with the subject line “Process 026” before 11pm EST on February 25th and answer the following question:
You are invited to be the on-set photographer for one of your favorite movies. Which movie is it?
(My answer: Goodfellas! One of my 3-year goals is to work as an on-set photographer on a movie by a visionary director, and it doesn’t get much better than Scorsese.)
One winner will be randomly drawn and notified. This giveaway is for Process subscribers only. Subscribe by clicking the button below:
Make sure to show Bryan some love on Instagram and check out his channel.
Would you like to support Process? Great! Tell your friends about it. Just click below:
If you’re a new reader, browse the Process archives here.
Process is a weekly letter from Wesley Verhoeve.
Follow along at @wesley.


FP-100c is easily one of my favorite stocks, and though I am grateful I have a fridge full of the stuff (in an undisclosed location), I still die a little with each pack I use, knowing that one day it will be the last. I love to recover my negs too, but I much prefer the "two-negative sandwich" method, where you use the stickiness of the goo to hold two negatives together face to face, and submerge them in a bleach solution. They stick together tightly enough that the bleach almost never touches the emulsion. You can see a demo on a few YT vids, including this one: https://www.youtube.com/watch?v=6jYr6tNhSvM