Process 063 ☼ Making Darkroom Handprints with a Legend
GIVEAWAY: Kodak H35 Half-Frame camera courtesy of BuyMoreFilm
Dear friends,
This week’s letter is about the magical process of making handprints in the darkroom with the legendary Wim Dingemans.
For this week’s Process Giveaway my friend Stephan of BuyMoreFilm has made available the soon-to-be-released Kodak Ektar H35 Half-Frame Camera.
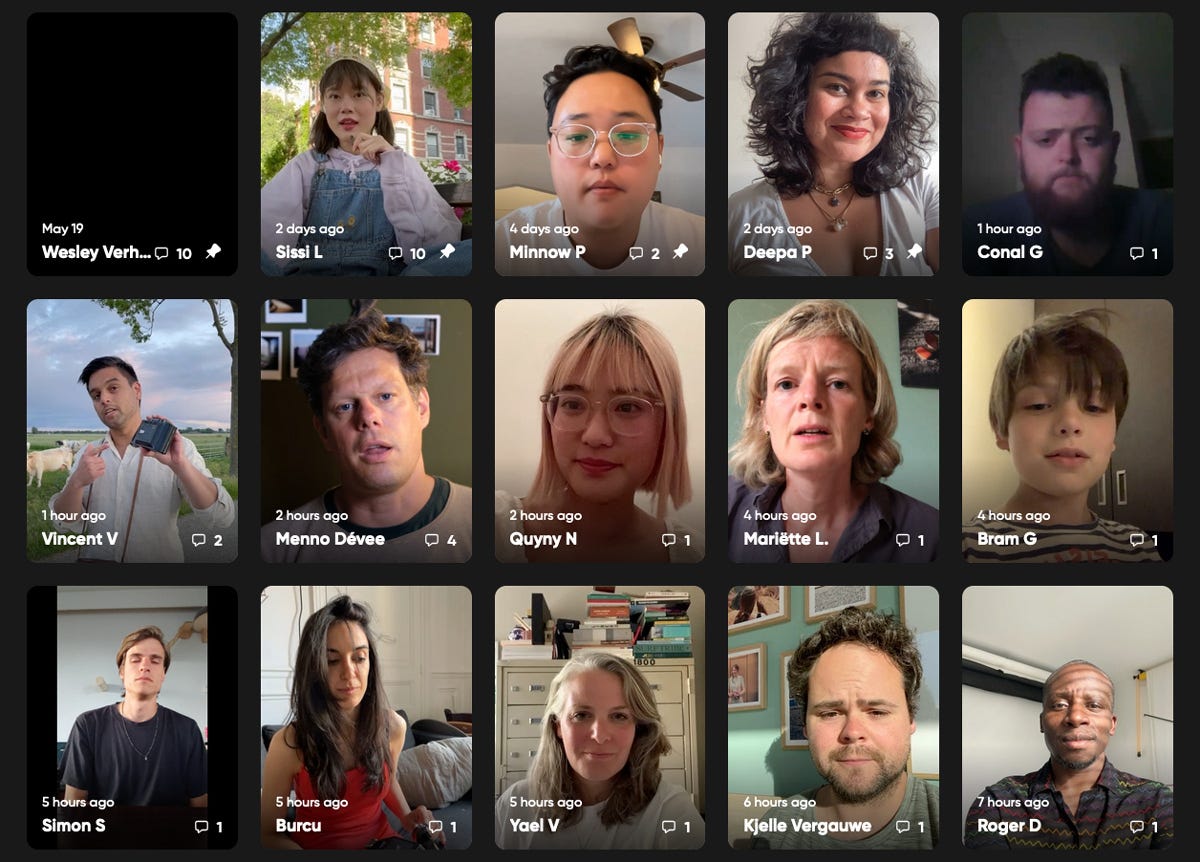
Your response to last week’s new way of entering into the Process Giveaway through video entries was incredible! Almost 200 kind, creative, curious photography lovers from all over the world introduced themselves and shared their favorite camera.
Here’s just a few of them in a delightful grid of joyful photography lovers.
Conversations happened in the comments, people connected on social media, and I already know of one proposed photo walk. I am so excited to see how this will unfold and grow as we continue to come together as a Process community like this on a weekly basis for the Giveaway. If you missed it, all the videos can be seen here.
Making Darkroom Handprints Is Magic
If you’ve never been in a darkroom while a handprint is made you’re missing out. It feels like magic, every time. I grew up playing legos in my father’s darkroom where he’d eventually teach me the process from start to finish and I can still smell that distinct chemical scent when I close my eyes and think back to those days.
Building out your own darkroom is a significant investment but chances are you might be near a community darkroom whether it’s at a college, art school, or photo club. These can be rented out and there is usually someone who can teach you. Just search for “community darkroom” and the name of your city or town online.
Learning how to make darkroom prints is really something to do in person, but just to demystify the process I have written it up in ten simple steps.
To illustrate these steps Luc Satter joined me at Silver-Hands Atelier when darkroom legend Wim Dingemans and I worked on a very limited edition of prints from my 30 Days of Walking In Amsterdam series. These prints will be available for sale one at a time in the beautiful large format of 30.5cm by 40.6cm format, or 12 by 16in, which is ideal to frame and hang on your wall. Only three prints were made of each photo.
How To Make a Darkroom Handprint
Step 1 — Set Up The Room
Just like a pro kitchen it’s important to set up your darkroom properly before you start. You’ll work in the dark so it’s important to know where everything is and make sure there’s nothing to trip over. Plug in your enlarger, make sure your chemical baths are ready, and place your photosensitive paper and negative in a convenient place.
Step 2 — Turn Off The Lights
Turn on your red safelight and turn off any other light sources in the room. That includes covering windows and turning off computer screens and small electronics. Any light that comes in, even from crooks in a doorway, needs to be eliminated because even a small amount of light can ruin your photo paper.
Step 3 — Set Up Your Enlarger
You will have picked out your negative in advance and put it in a film holder so the frame you’re printing is lined up perfectly. Make sure the shiny side of the negative is up and then pop the film holder into the enlarger. You’ll see Wim doing this in the video. Now turn on your enlarger and the focus light and you’ll see your frame projected on the baseboard below. Your aperture ring should be set to to f/8 or f/11.
Step 4 — Set the Size of Your Image
Now you’ll start moving the head of the enlarger up and down until the size of the projected image is the same as the photo paper you will be using.
Step 5 — Focus Your Image
Now that the image is the perfect size for your photo paper you are ready to focus the image by turning another knob on the side of your enlarger which moves your negative closer or further away from the light that’s shining from the enlarger through the negative onto the baseboard to expose the photo paper to your image.
In the video you’ll see Wim uses a grain focuser for this step, which is a tool that looks like a microscope and is placed on the baseboard so you can look at a zoomed in version of the image, which makes it easier to focus.
Step 6 — Set The Contrast
Contrast is everything. If you don’t have enough of it the print will feel flat, if you have too much of it it will feel harsh. Various things determine the contrast of your print including the negative and how it was developed, which contrast filters are involved, and what kind of paper you use. Think ahead to make sure you have what you need to achieve your desired look and you’ll see your results in the next step.
Step 7 — Make A Test Strip
This is when you take a long and thin strip of photo paper to test your settings so you can see where you’re at with contrast, exposure and sharpness. These strips are cut from a sheet of the same photo paper you will use for the final handprint, usually around 5cm or 2 inches wide. We use strips so we don’t waste an entire sheet on a test.
After we place the test strip on the base board we expose it for around ten seconds. Then we cover a 5cm part of the test strip with a piece of cardboard and expose the rest for another ten seconds, and we repeat that 5 or 6 times.
This process creates a test strip that has different exposure times going from light to dark which will help us in our next step. Next up we’ll run the test strip through the different chemical baths. For brevity’s sake I won’t go into how to set up your chems because it’s already explained well on the packaging.
First we put the test strip into the developer bath which is the most exciting step since we’ll immediately start seeing the image appear on what until now was a white piece of paper. Magic! Next it goes into a stop bath, then the fixer, and then a rinse.
Now we can turn the lights back on and take a good look at our test strip. Since we used five or six different exposure settings earlier you’ll see a strip of your image with different levels of exposure going from light to dark. Based on this you can determine which feels right for your particular image and what your final exposure time should be for your next step when you print the full image on a full piece of photo paper.
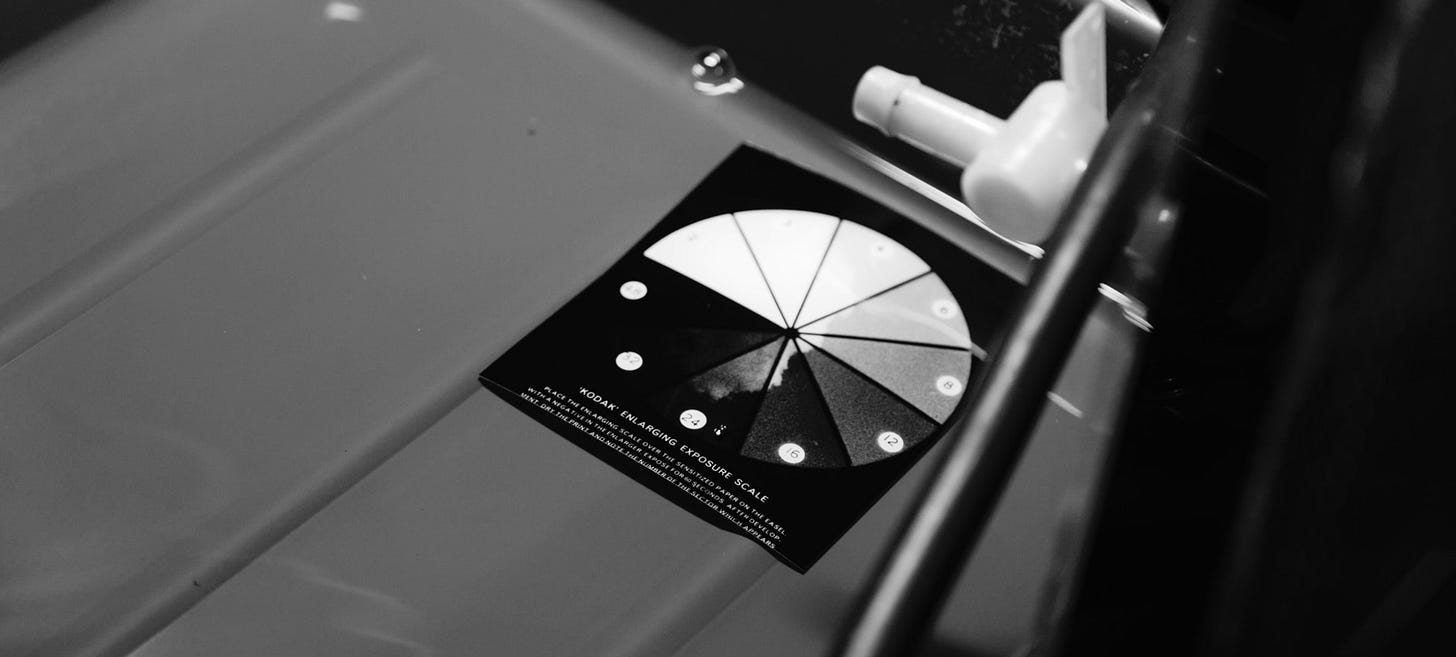
In the video you’ll see Wim use a Kodak Enlarging Exposure Scale, a circular test strip alternative that does the same thing but in a more visually organized manner.
Step 8 — Make Your Final Print
Now the lights go off again, and you place your photo paper on the base board, expose it based on your test print settings and repeat all the chemical bath steps and then voila! Your first darkroom handprint.
Step 9 — Wash Your Print
Next up we’ll clean our print to make sure no residue or dirt remains on the paper. You can do this under gently running water or a special wash set up in which prints hang in between pieces of plastic as water runs through them. Make sure your print doesn’t stay wet for too long, maybe 15 minutes or so at most, to avoid damage.
Step 10 — Dry and Admire Your Print
This step can be done in various ways depending on your darkroom set up. Some people use a gentle sponge, others use drying racks, or if you’re a mega pro like Wim you might even have the fancy drying machine you can see in the video that looks a bit like an ancient printer. Your print is now ready to be admired! You just turned a tiny negative into a big physical print that can be framed and hung on a wall for all to see.
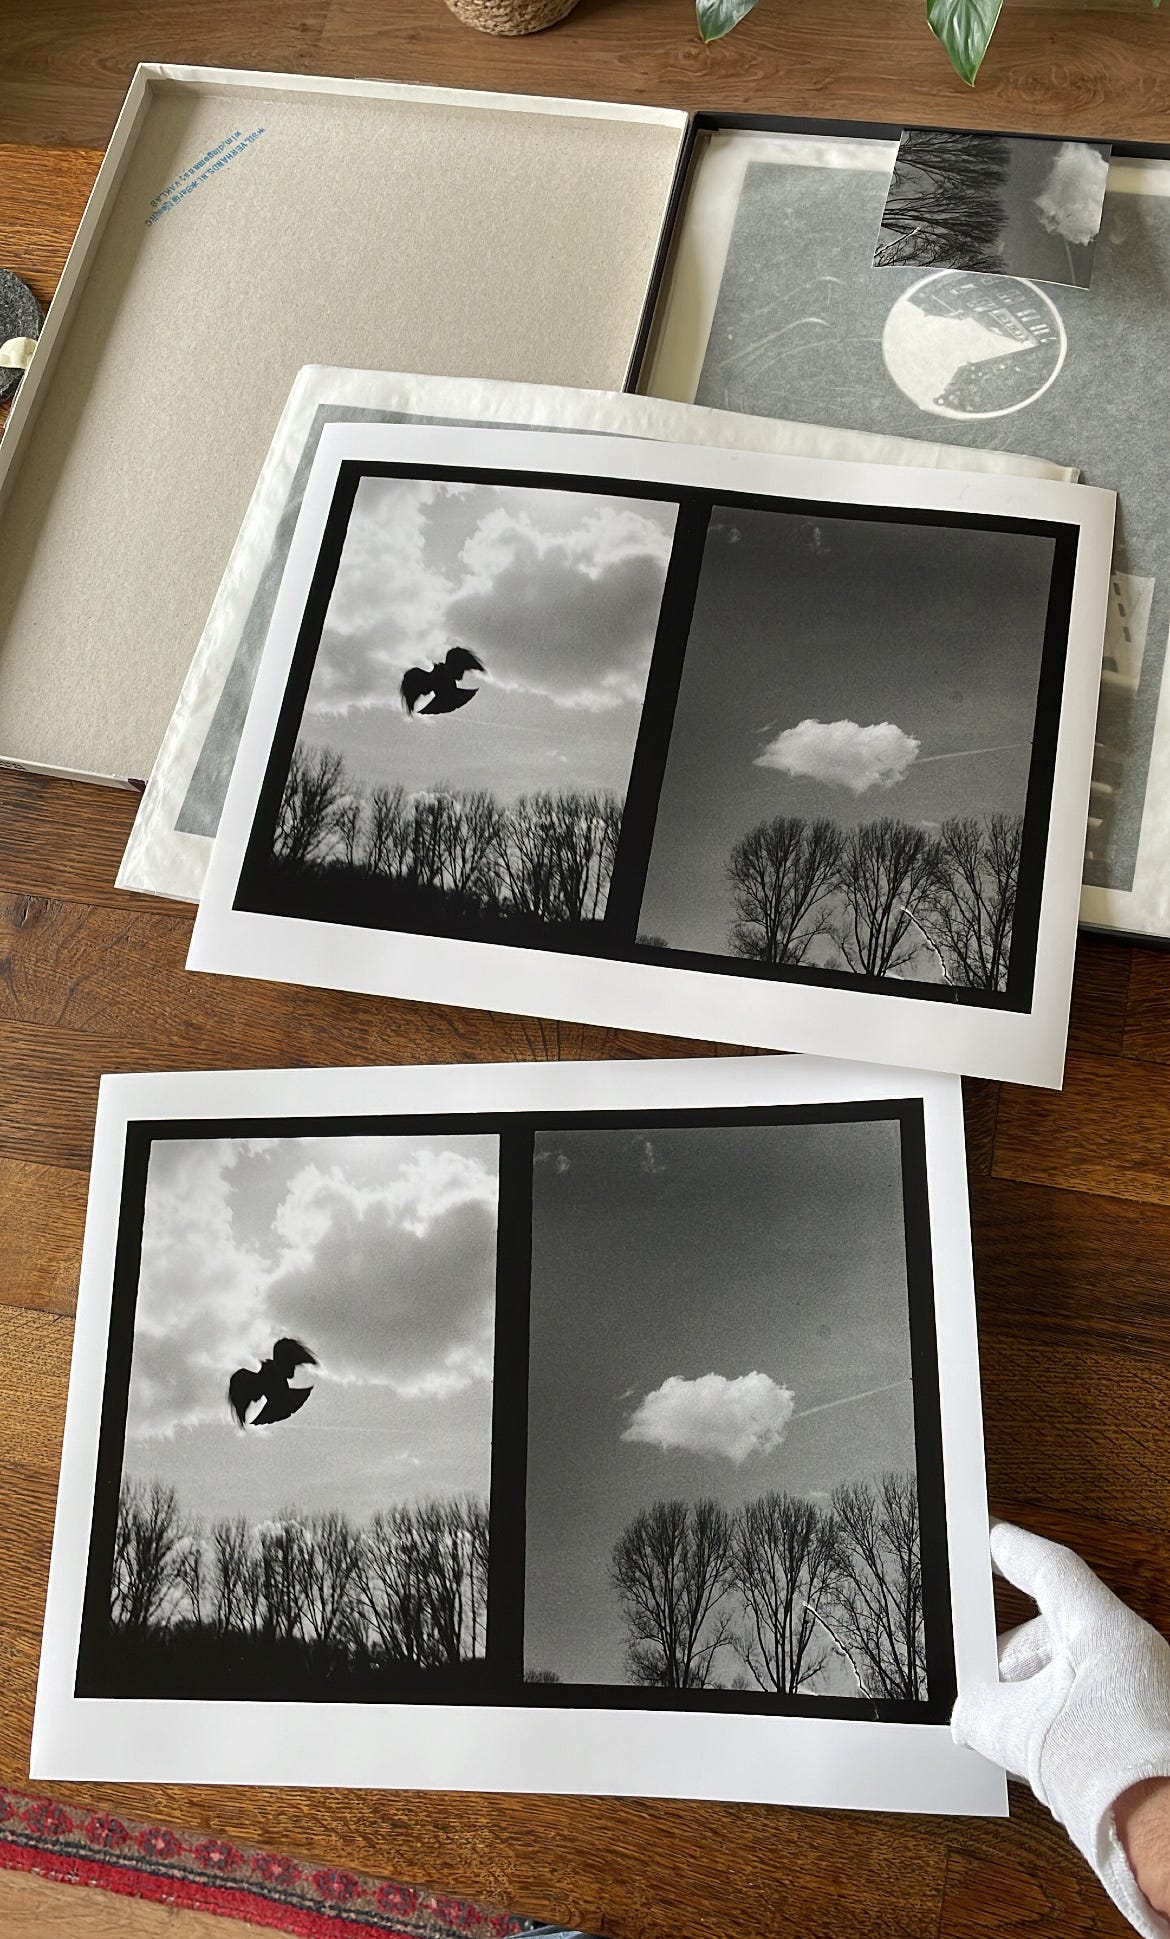
This is the first darkroom print from my 30 Days of Walking in Amsterdam series:
This first 30 Days darkroom handprint will be available on June 5th for €325, plus shipping, in a super small edition of only three prints. Process subscribers receive a 23% discount making it €250. If you’d like to reserve one early just email me. Each print is signed and printed on 30.5 x 40.6cm (12x16in) Ilford MGRC Multigrade RC Deluxe Pearl paper.
This diptych was created in-camera, no photoshop, on a 1964 Olympus Pen-F half-frame camera loaded with handrolled Kodak Double X cinema film.
Takeaways
It’s magical and meditative. Since it is a slow process that requires all of your attention it ends up being incredibly relaxing once you know what you’re doing.
It’s much more laborious and expensive than making a digital print from a scan but it’s so worth it because…
A darkroom print is the ultimate rendition of an analog image. There is no more pure representation of a photograph. Every detail comes out.
The process of making a darkroom print seems intimidating but once you do it a few times you’ll notice it gets easier every time.
Make sure to keep notes on your preferred exposure settings, aperture, contrast filters, paper, etc. so you can use that knowledge for future prints.
Keep your space and tools organized and clean. Do it while you use it.
That’s it for this week! Waving from Portugal where I’m working on an exciting client shoot that I will share more about in the future.
Keep shooting and take good care of yourselves and others.
Wesley
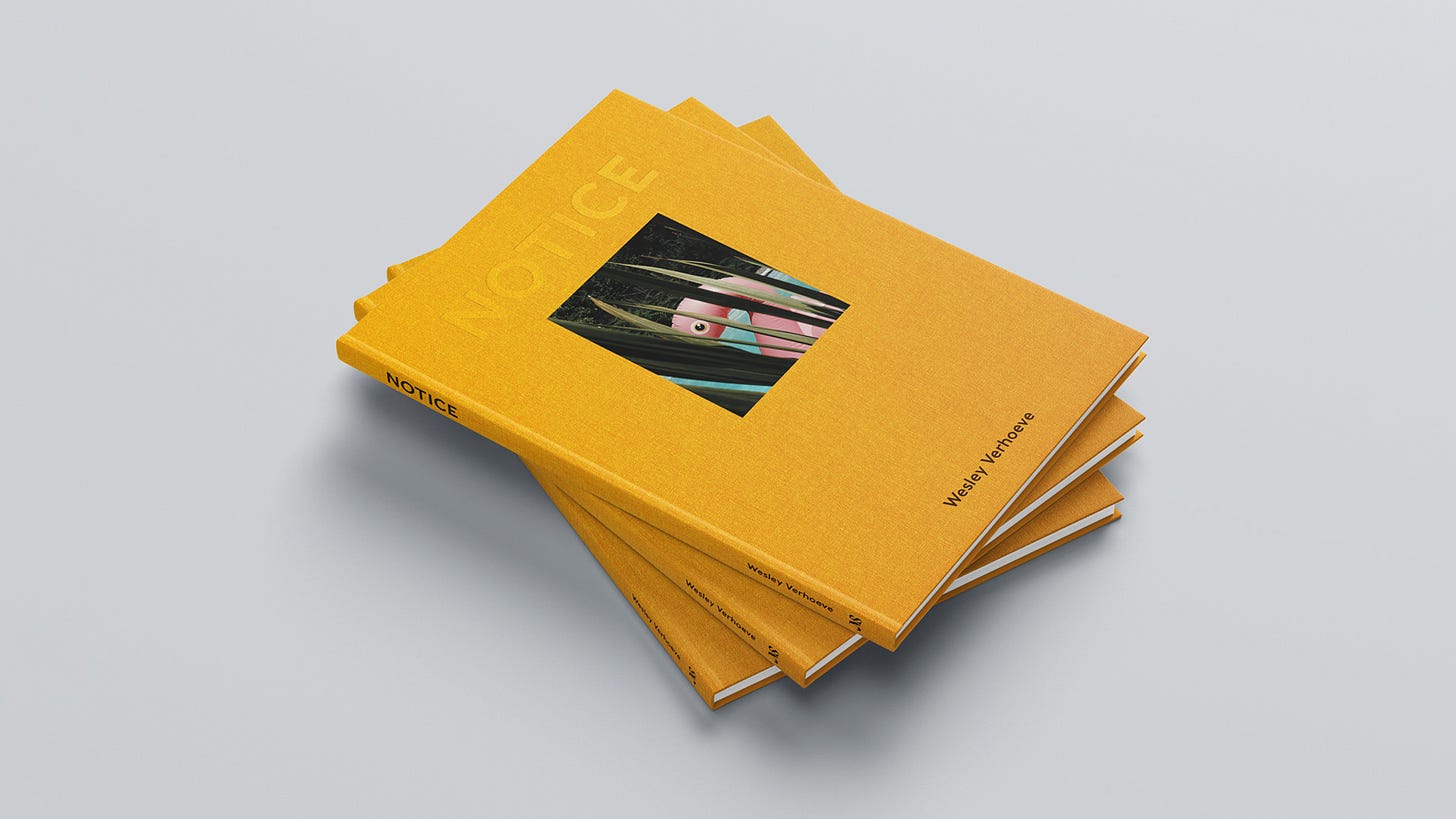
PS NOTICE News: A few of the last remaining copies of the first print of NOTICE are now available at Safelight, Berlin’s finest analog photography shop.
Process Giveaway!
BuyMoreFilm is back for another generous giveaway prize. Stephan is a gem in the analog community and runs one of my favorite online shops for used compact and slr cameras, expired and fresh film, and accessories.
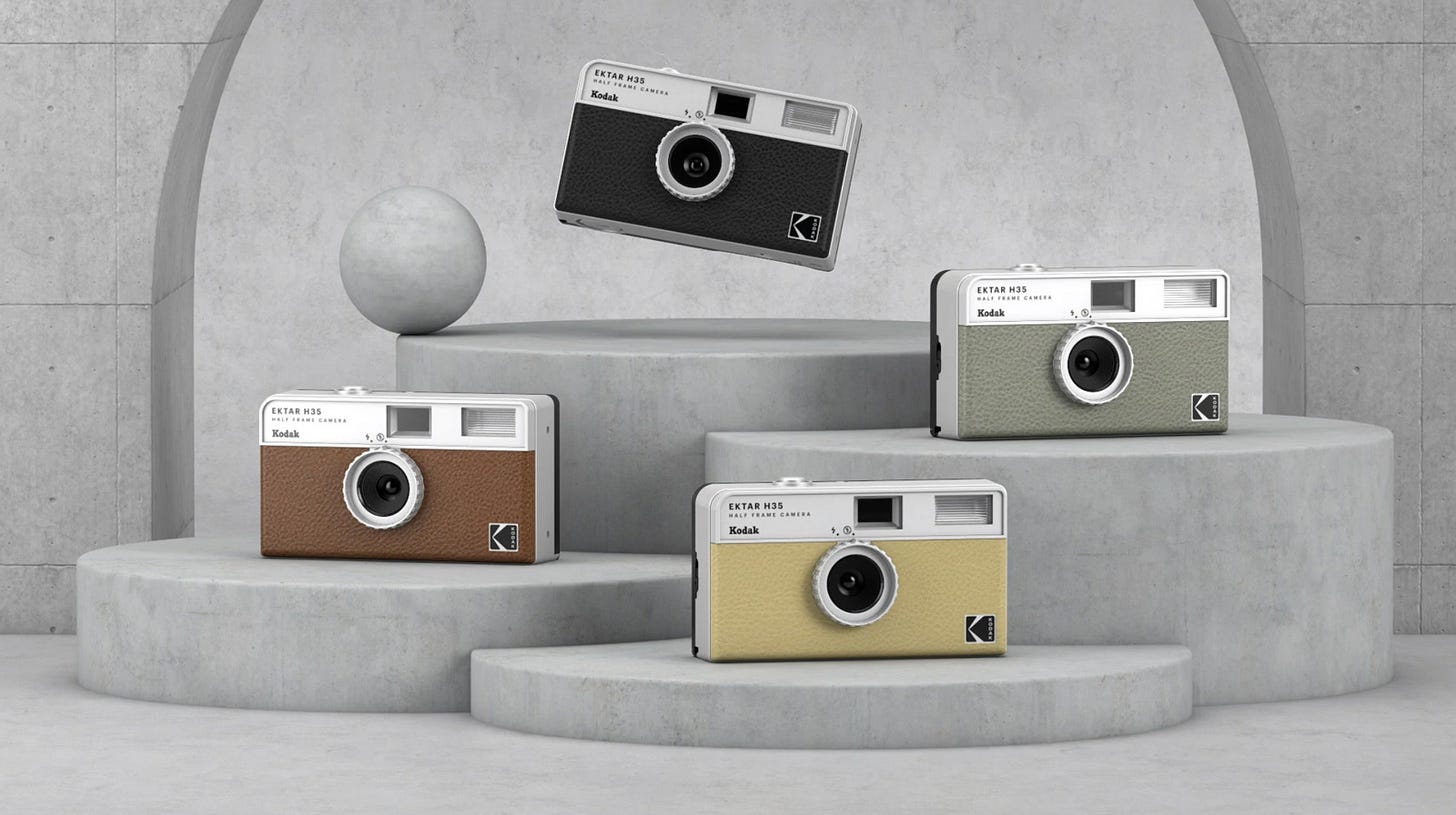
This week’s prize is the soon to be released Kodak Ektar H35 Half-Frame Camera. That’s right, just like my 30 Days of Walking in Amsterdam you can use this camera to create your very own half-frame storytelling project in your community.
The camera is lightweight, easy to use, includes a built-in flash, and is available in four colors. Look how handsome they are.
To enter this Giveaway visit the Process Flipgrid page and record a video in which you answer the following question:
Which photographer, current or past, inspires you most at the moment and why?
ENTER THIS WEEK’S GIVEAWAY HERE before 11pm EST on June 3rd.
I’m about to upload the first video so you have an example with my answer.
The process of recording and/or uploading a video is easy and fast, and can be done on mobile via the Flipgrid app and on desktop in your browser. Almost 200 kind and generous people did it last week, included lots of shy photo folks (we all are!) so don’t feel nervous, it’s a safe community to share and learn from each other. <3
The winner will be randomly drawn and notified. This giveaway is for Process subscribers only. Subscribe by clicking the button below:
Make sure to show BuyMoreFilm some love on Instagram and visit their webshop to preorder this Kodak Ektar H35 Half-Frame camera or pick up some expired film.
Shout out to the team over at Flipgrid for partnering with Process to make this new Giveaway system possible, and to my friend and Process reader Bobby who helped me set up the Flipgrid Process page so it’s easy for everyone to use.
If you enjoyed this issue of Process please share it on social media by clicking below.
Process is a weekly letter from Wesley Verhoeve.
New readers can browse the Process archives here.
The best way to support my writing here is to order my new photo book NOTICE.

Another great edition Wesley! I bought an enlarger a month ago and these tips were very useful. Celebrating your efforts in amplifying the community.
PS. Where can I find the winner of the previous give-away? :)
That sounds wonderful. I was too shy to record anything.
Enjoyed reading this week's newsletter on darkroom printing. I've been devoting more and more time to it over the last few years myself. Speaking community darkrooms... when I moved back to the UK in 2018 that was the first thing I searched for (besides a local Community Supported Agriculture farm). I was so lucky to find Kiln Photo. The facilities, expertise and members are wonderful: https://www.kilnphoto.co.uk/